
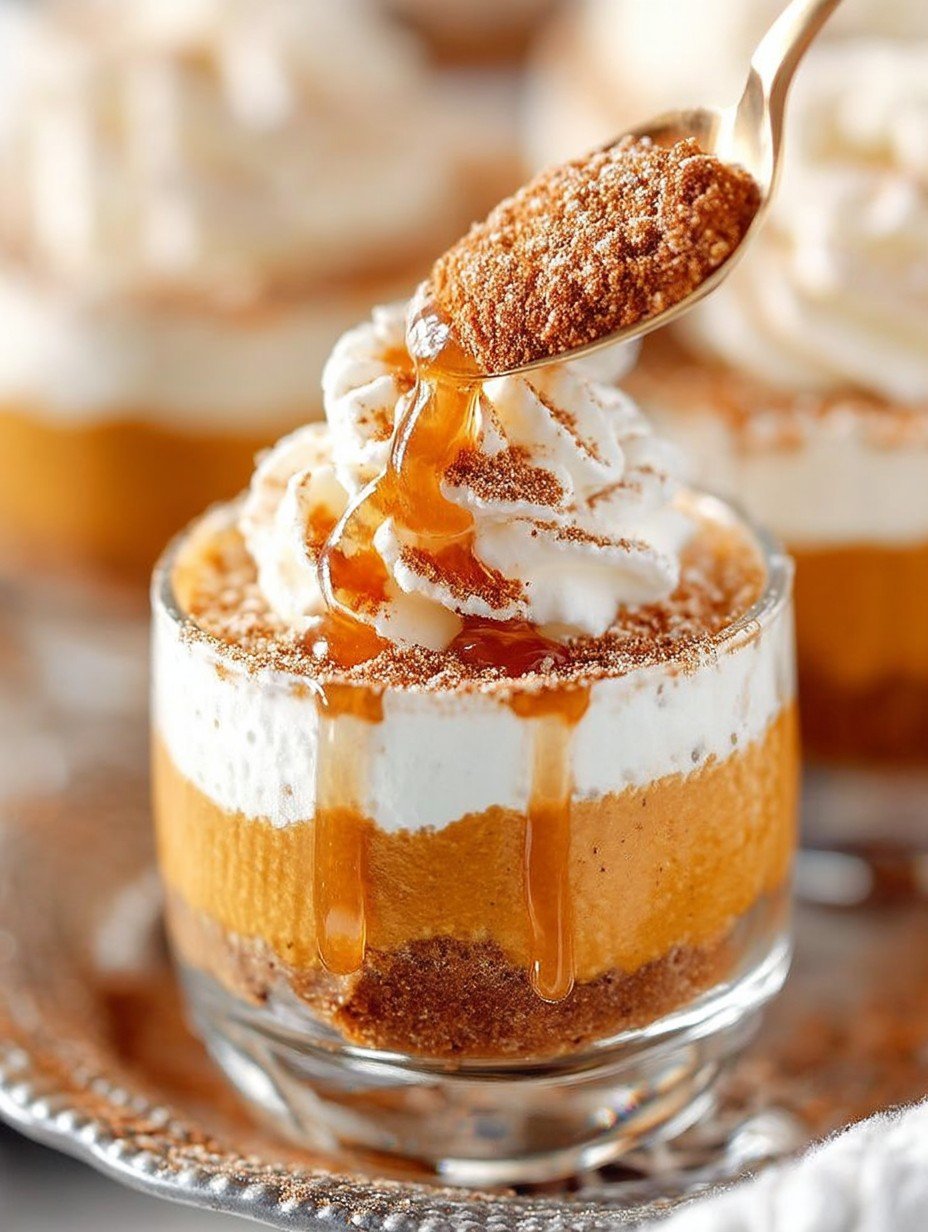
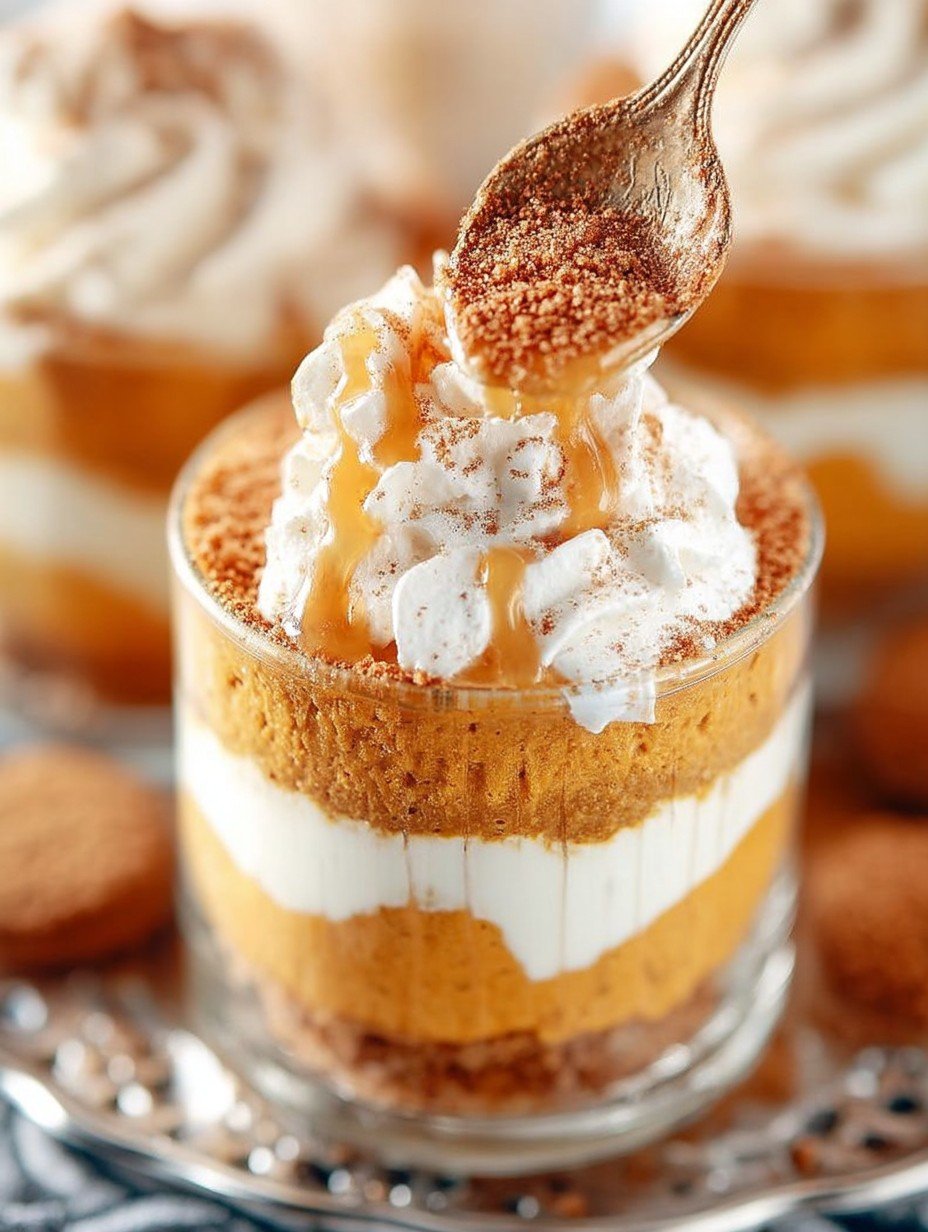
Imagine the sweet, spicy aroma of pumpkin pie wafting through your kitchen, mingling with creamy layers that melt in your mouth. Each spoonful invites you to savor the delightful crunch of a graham cracker crust, topped with a cloud of whipped cream, all encased in a charming jar.
This recipe for No Bake Pumpkin Pies in a Jar always takes me back to my childhood kitchen, where I attempted to bake a pumpkin pie for Thanksgiving but ended up with a lumpy disaster. Let’s just say my family was much more impressed when I discovered that assembling these delightful jars required no baking skills whatsoever—just a sprinkle of patience and a dash of creativity!
What Makes This Recipe Special
These No Bake Pumpkin Pies in a Jar are not only easy to prepare but also feature a unique flavor profile that harmoniously blends the warm spices of fall with creamy pumpkin goodness. With their stunning appearance, these individual servings look as good as they taste, making them perfect for entertaining or cozy nights in. Plus, you can customize each jar with different toppings or flavor twists, so everyone can have their pie just how they like it!
Ingredients for No Bake Pumpkin Pies in a Jar
Here’s what you need for this delicious dish:
Complete Preparation Method No Bake Pumpkin Pies in a Jar
Simply follow these easy steps to prepare this delicious meal:
Step 1: Prepare Your Crust
In a mixing bowl, combine 1 cup of graham cracker crumbs with 4 tablespoons of melted unsalted butter until it resembles wet sand. Press this mixture firmly into the bottom of each jar (about 1/4 inch thick). Set aside while you prepare the filling.
Step 2: Whip Up The Filling
In another mixing bowl, beat together 8 ounces of softened cream cheese and 1 cup of canned pumpkin puree until smooth. Add 1/2 cup powdered sugar, 1 teaspoon ground cinnamon, and 1/4 teaspoon nutmeg. Continue mixing until fully combined and creamy.
Step 3: Layer It Up
Spoon about one-third of the pumpkin filling over each graham cracker crust layer in your jars. Use a spatula to spread it evenly so every bite gets that deliciousness!
Step 4: Top It Off
Add another layer of graham cracker crumbs (about two tablespoons) over the pumpkin filling in each jar—because we all know life is better with more crunch!
Step 5: Finish Strong
Top with another layer of the remaining pumpkin filling until each jar is nearly full (leaving some room for whipped cream). Cover them with lids or plastic wrap and refrigerate for at least two hours or overnight if you want to impress everyone at brunch!
Step 6: Serve With Style
Just before serving, dollop generous amounts of whipped cream on top of each jar. Garnish with additional cinnamon or even some crushed nuts if you’re feeling fancy! Enjoy immediately for that delightful crunch juxtaposed against creamy goodness.
Now you’re ready to delight friends and family with these stunning No Bake Pumpkin Pies in a Jar! Whether it’s fall celebrations or simply indulging yourself on any random Tuesday evening, these little jars are bound to bring smiles—and maybe even some happy dance moves too!
Mastering the Secrets of Cooking
To create perfect No Bake Pumpkin Pies in a Jar, start by mixing the pumpkin filling thoroughly before layering it with the crust. This ensures a harmonious blend of flavors that will make your taste buds dance with joy.
Make Your Recipe Unique
Get creative with your No Bake Pumpkin Pies in a Jar! Swap out the Golden Oreos for chocolate sandwich cookies for a richer flavor or use crushed gingersnaps for a spicy twist. Your dessert, your rules!
Smart Storage & Reheating
For optimal enjoyment, store the crust and filling separately in airtight containers. This prevents sogginess and preserves that delightful crunch until you’re ready to dig into your No Bake Pumpkin Pies in a Jar.
The Chef’s Golden Tips
One fall afternoon, I whipped up No Bake Pumpkin Pies in a Jar for friends. Watching their eyes light up at first bite was simply priceless—it was like sharing culinary hugs!
Conclusion for No Bake Pumpkin Pies in a Jar
No Bake Pumpkin Pies in a Jar are not only easy to make but also a delightful treat for any occasion. The creamy pumpkin filling paired with a crunchy crust creates a perfect balance of flavors and textures. Plus, these individual servings make for an appealing presentation that’s sure to impress your guests. So, gather your ingredients, channel the spirit of autumn, and whip up these charming jars of joy. Don’t forget to savor every spoonful and share your creation with friends and family!
PrintNo Bake Pumpkin Pies in a Jar

Delicious no bake pumpkin pies in a jar recipe with detailed instructions and nutritional information.
- Prep Time: 20 minutes
- Cook Time: 20 minutes
- Total Time: 40 minutes
- Yield: 4 servings 1x
- Method: Chill
Ingredients
- 1 cup graham cracker crumbs, finely crushed
- 4 tablespoons unsalted butter, melted
- 1 cup canned pumpkin puree, 100% pure
- 8 ounces cream cheese, softened
- 1/2 cup powdered sugar, sifted
- 1 teaspoon ground cinnamon
- 1/4 teaspoon nutmeg
- whipped cream, for topping
- pumpkin spice, optional
Instructions
- In a mixing bowl, combine 1 cup of graham cracker crumbs with 4 tablespoons of melted unsalted butter until it resembles wet sand.
- Press this mixture firmly into the bottom of each jar (about 1/4 inch thick).
- Set aside while you prepare the filling.
- In another mixing bowl, beat together 8 ounces of softened cream cheese and 1 cup of canned pumpkin puree until smooth.
- Add 1/2 cup powdered sugar, 1 teaspoon ground cinnamon, and 1/4 teaspoon nutmeg.
- Continue mixing until fully combined and creamy.
- Spoon about one-third of the pumpkin filling over each graham cracker crust layer in your jars.
- Use a spatula to spread it evenly so every bite gets that deliciousness!
- Add another layer of graham cracker crumbs (about two tablespoons) over the pumpkin filling in each jar.
- Top with another layer of the remaining pumpkin filling until each jar is nearly full (leaving some room for whipped cream).
- Cover them with lids or plastic wrap and refrigerate for at least two hours or overnight.
- Just before serving, dollop generous amounts of whipped cream on top of each jar.
- Garnish with additional cinnamon or even some crushed nuts if desired.
Notes
Store in sealed jars refrigerated.
No reheating needed; serve chilled.
Top with whipped cream generously.
Use fresh pumpkin for flavor.
Nutrition
- Calories: 220 kcal
- Sugar: 8g
- Sodium: 150mg
- Fat: 9g
- Carbohydrates: 30g
- Fiber: 3g
- Protein: 4g
- Cholesterol: 25mg
FAQs
Can I use a different type of sweetener in the No Bake Pumpkin Pies in a Jar?
Absolutely! You can substitute the sweetener mentioned in the recipe with alternatives like honey or maple syrup. Just ensure that your chosen sweetener complements the pumpkin flavor without overpowering it. Adjust the quantity based on your taste preference, as different sweeteners have varying sweetness levels.
How long do No Bake Pumpkin Pies in a Jar last in the fridge?
These No Bake Pumpkin Pies in a Jar can be stored in the refrigerator for up to four days. Just make sure to cover them tightly to prevent any absorption of other odors from the fridge. Enjoy them cold for a refreshing dessert experience!
Can I make No Bake Pumpkin Pies in a Jar ahead of time?
Yes, you can prepare these delightful pies a day or two in advance. This makes them perfect for parties or gatherings, as they will chill nicely in the refrigerator until you’re ready to serve them. Just add any toppings right before serving for the best texture.
What can I use instead of cream cheese for No Bake Pumpkin Pies in a Jar?
If you prefer not to use cream cheese, consider using mascarpone cheese or even a dairy-free cream alternative if needed. These options will still provide that rich and creamy texture essential for your No Bake Pumpkin Pies in a Jar while maintaining delicious flavor!