
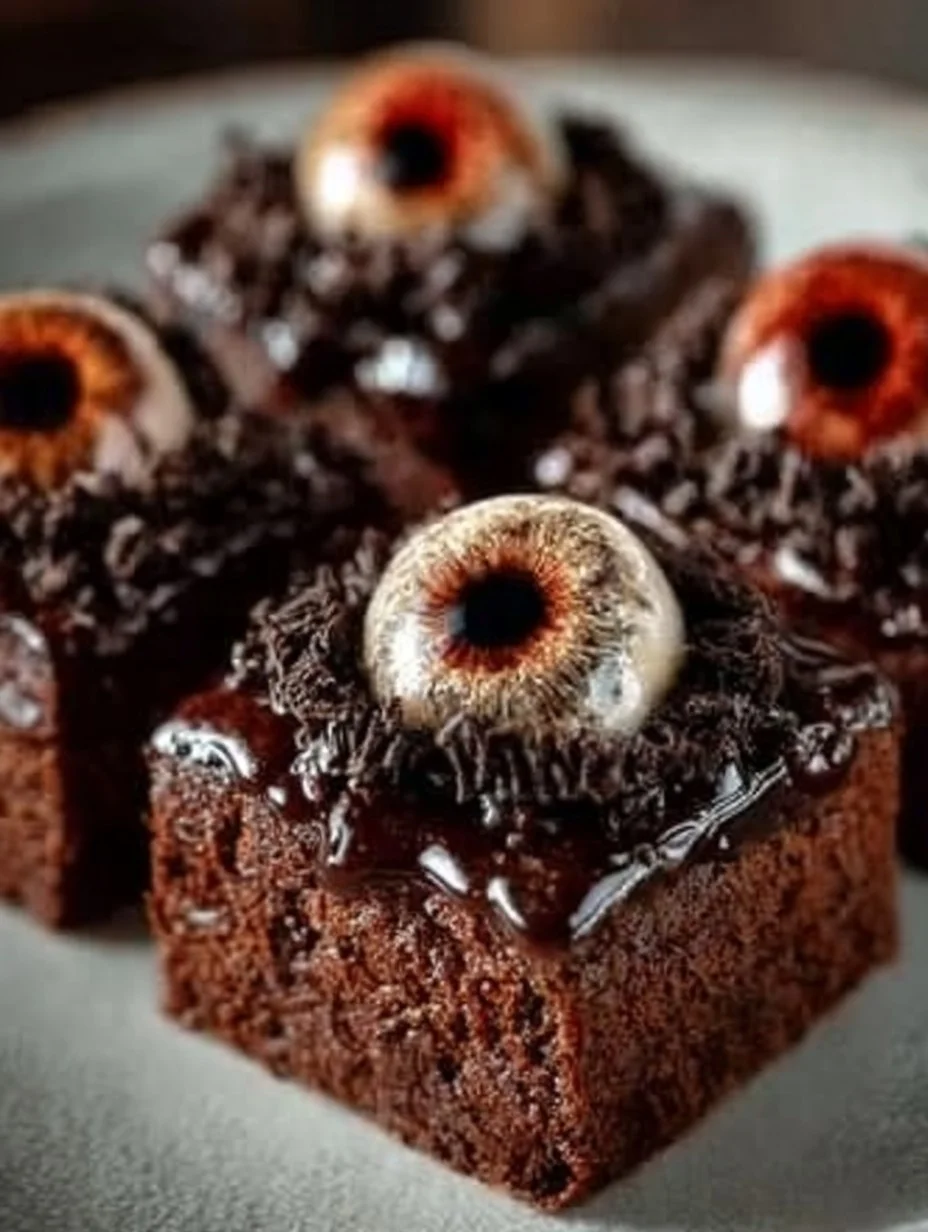
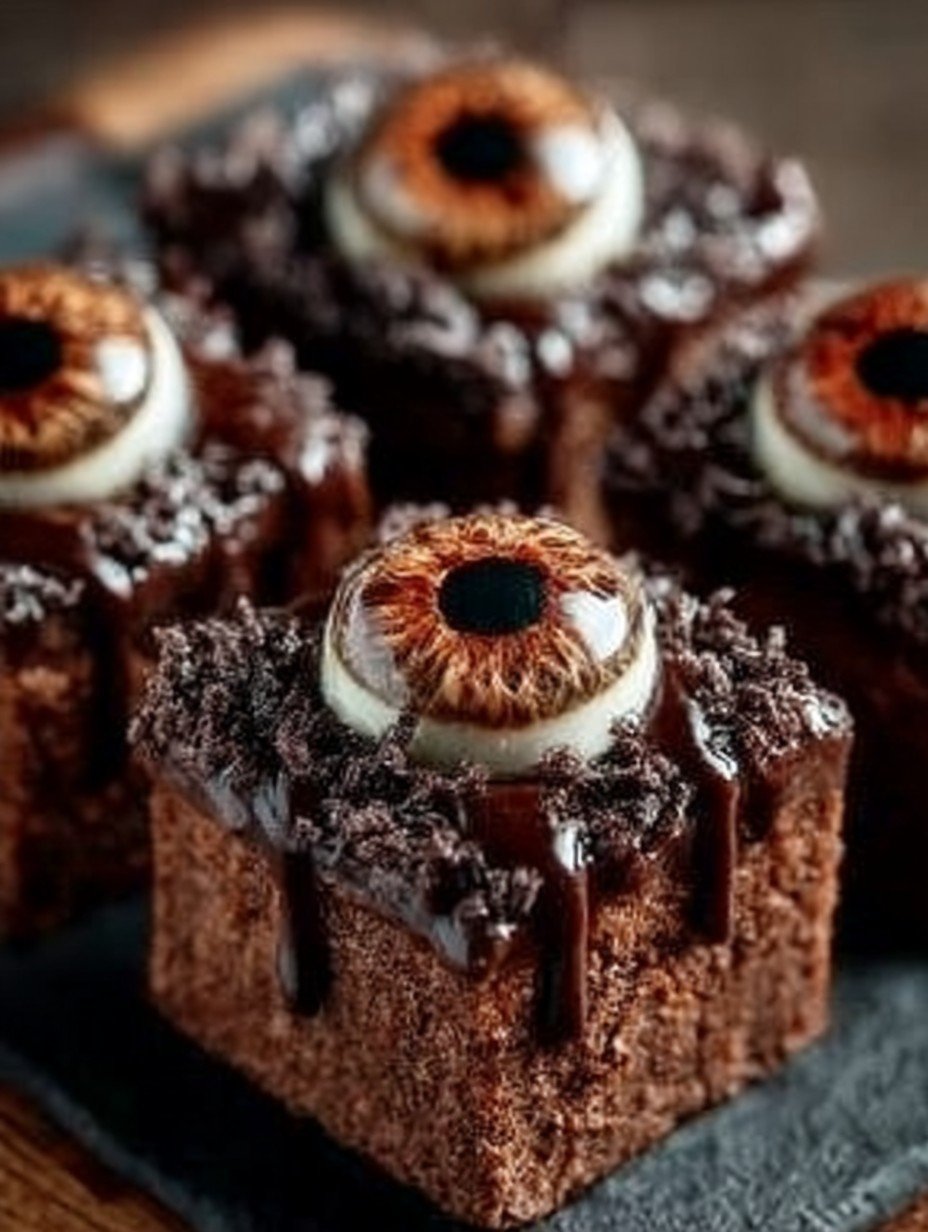
Imagine sinking your teeth into a rich, fudgy brownie that’s so moist it practically melts in your mouth, only to discover a burst of sweet, creamy goodness topped with bright, colorful eyes staring back at you. These Monster Eye Brownie Bites are not just a treat for your taste buds; they’re a delightful feast for your eyes as well.
I vividly remember the first time I made these little monsters—my kitchen looked like a Halloween party exploded in it. With sprinkles everywhere and chocolate smudged on my face, I was convinced I’d created something truly special. My friends laughed at my messy antics but couldn’t stop raving about how delicious these spooky bites were!
You’ll love making these Monster Eye Brownie Bites because they’re incredibly easy to whip up, even if you’ve barely mastered boiling water. They feature a unique flavor profile combining rich chocolatey goodness with sweet creaminess and fun textures. Plus, their stunning appearance will make them the star of any party or gathering. You can also customize them with various toppings or colors to suit your theme or mood—let your imagination run wild!
Ingredients for Monster Eye Brownie Bites
Here’s what you need for this delicious dish:
The complete ingredient list, including quantities, can be found directly under the recipe card.
How to Make Monster Eye Brownie Bites
Follow these simple steps to prepare this delicious dish:
Step 1: Preheat Your Oven
Start by preheating your oven to 350°F (175°C). Grease an 8×8 inch baking pan or line it with parchment paper for easy removal later—trust me, no one wants a brownie catastrophe on their hands.
Step 2: Prepare Your Brownie Batter
In a large mixing bowl, melt ½ cup of butter over low heat and then remove it from heat. Stir in 1 cup of granulated sugar until combined smoothly. Add in 2 large eggs one at a time, mixing well after each addition. Then sift in ½ cup of unsweetened cocoa powder, ½ cup of all-purpose flour, and ½ teaspoon of baking powder. Stir until just combined; do not overmix unless you want chewy bricks instead of fudgy bites.
Step 3: Bake the Brownies
Pour the batter into the prepared baking pan and spread evenly using a spatula. Bake in your preheated oven for about 20-25 minutes or until a toothpick inserted comes out slightly sticky but not gooey—think of it as “just right” on the gooey scale!
Step 4: Prepare the Cream Cheese Filling
While those delicious brownies are baking away, let’s focus on that creamy filling! In another bowl (because we love doing dishes), mix together 8 ounces of softened cream cheese and add in about 1/2 cup of powdered sugar until smooth. If you want to get creative, add green food coloring here until you reach your desired monster hue!
Step 5: Assemble Your Monsters
Once the brownies have cooled completely (patience is key), spread an even layer of cream cheese filling over them. Use a spatula or knife to create swirls if you’re feeling artsy! Cut them into bite-sized squares (or monster rectangles if you’re feeling rebellious) before placing candy eyes on top—make sure they’re staring right back at you!
Step 6: Serve and Enjoy!
Garnish with extra sprinkles if desired (because why not?) and serve immediately to enjoy the rich textures along with that delightful surprise filling inside each bite!
And there you have it—your very own Monster Eye Brownie Bites! Perfect for parties, movie nights, or when you simply want to unleash some dessert creativity (and maybe some sugar-fueled giggles).
Improving the Cooking Method
For perfect Monster Eye Brownie Bites, bake your brownie base slowly at a lower temperature. This ensures they stay fudgy inside while achieving that perfect crust on top. Patience is key!
Decorate Your Dish with Your Personal Touch
Feel free to swap out Golden Oreos for any favorite cookie, like chocolate sandwich cookies or even peanut butter cookies. For a fruity twist, try using blueberries instead of strawberries.
Smart Tips for Storage and Reheating
To maintain the delightful texture of your Monster Eye Brownie Bites, store them in an airtight container at room temperature. Avoid refrigeration, as it can make them overly dense.
Practical Chef Advice
I still remember the first time I made Monster Eye Brownie Bites; my friends were convinced I had summoned Halloween spirits with those googly eyes!
Conclusion for Monster Eye Brownie Bites
Monster Eye Brownie Bites offer a delightful blend of rich chocolate flavor and whimsical presentation, perfect for impressing guests or treating your family. These bite-sized treats are not only fun to make but also customizable with your favorite toppings. The easy-to-follow recipe ensures that anyone can create these spooky delights in no time. So, unleash your creativity and bring these eye-catching brownies to life! Don’t wait—try making Monster Eye Brownie Bites today and add a touch of magic to your dessert table!
PrintMonster Eye Brownie Bites

Delicious monster eye brownie bites recipe with detailed instructions and nutritional information.
- Prep Time: 30 minutes
- Cook Time: 30 minutes
- Total Time: 1 hour
- Yield: 24 servings 1x
- Method: Bake
Ingredients
- 1/2 cup unsweetened cocoa powder
- 1/2 cup all-purpose flour
- 1 cup granulated sugar
- 1/2 teaspoon baking powder
- 1/2 cup butter, unsalted and melted
- 2 large eggs, at room temperature
- 8 ounces cream cheese, softened
- green food coloring, gel type
- candy eyes
Instructions
- Preheat your oven to 350°F (175°C).
- Grease an 8×8 inch baking pan or line it with parchment paper.
- In a large mixing bowl, melt ½ cup of butter over low heat and then remove it from heat.
- Stir in 1 cup of granulated sugar until combined smoothly.
- Add in 2 large eggs one at a time, mixing well after each addition.
- Sift in ½ cup of unsweetened cocoa powder, ½ cup of all-purpose flour, and ½ teaspoon of baking powder.
- Stir until just combined; do not overmix.
- Pour the batter into the prepared baking pan and spread evenly using a spatula.
- Bake in your preheated oven for about 20-25 minutes or until a toothpick inserted comes out slightly sticky but not gooey.
- In another bowl, mix together 8 ounces of softened cream cheese and add in about 1/2 cup of powdered sugar until smooth.
- Add green food coloring until you reach your desired monster hue.
- Once the brownies have cooled completely, spread an even layer of cream cheese filling over them.
- Cut them into bite-sized squares before placing candy eyes on top.
- Garnish with extra sprinkles if desired and serve immediately.
Notes
Store brownie bites in airtight container.
Reheat briefly in microwave, enjoy warm.
Serve with ice cream for indulgence.
Use colorful candies for fun eyes.
Nutrition
- Calories: 150 kcal
- Sugar: 8g
- Sodium: 100mg
- Fat: 7g
- Carbohydrates: 22g
- Fiber: 1g
- Protein: 2g
- Cholesterol: 25mg
FAQs
How can I make Monster Eye Brownie Bites gluten-free?
To make Monster Eye Brownie Bites gluten-free, simply substitute the all-purpose flour with a gluten-free flour blend. Ensure that all other ingredients, like the chocolate and food coloring, are also gluten-free. This way, you can enjoy the same delicious flavor without the gluten.
Can I use different colors for the “eye” decoration?
Absolutely! You can experiment with various food coloring options to create unique eye designs on your Monster Eye Brownie Bites. Whether you choose green, blue, or even rainbow colors, your creativity will shine through in every bite.
How should I store Monster Eye Brownie Bites?
Store your Monster Eye Brownie Bites in an airtight container at room temperature for up to three days. If you want them to last longer, refrigerate them. Just remember to let them come back to room temperature before serving for the best texture.
Can I double the recipe for a larger batch of Monster Eye Brownie Bites?
Yes, you can easily double the recipe if you’re expecting a crowd or want extra treats! Simply adjust the ingredient quantities accordingly and ensure that you use a larger baking pan as needed. Enjoy sharing these delightful bites with more friends and family!