
I have always loved experimenting with fun and unexpected twists in the kitchen, and one of my favorite creations is Oreo Sushi. When I first thought about turning a simple Oreo cookie into a sushi-inspired treat, I was a little skeptical—but the result completely wowed me. It’s playful, delicious, and surprisingly simple to make. Oreo Sushi has quickly become a favorite at family gatherings and parties because it brings together the nostalgia of Oreos with the creativity of sushi presentation.
You will love this recipe because it transforms a classic cookie into something visually exciting and irresistible. Each bite combines the creamy sweetness of the Oreo filling with the slightly crunchy cookie, all wrapped in a playful “sushi” style. The best part is that it’s completely customizable, making it perfect for kids, dessert lovers, and anyone who enjoys a unique treat.
This recipe is incredibly versatile. You can adjust the filling to include peanut butter, Nutella, or even flavored cream cheese to create different tastes. You can roll it in colorful sprinkles, crushed nuts, or coconut flakes to match the theme of any celebration. Oreo Sushi is a dessert that allows creativity to shine, whether you’re serving it at a birthday party, a casual get-together, or just as a fun weekend project in the kitchen.
Affordability is another reason I love this recipe. You don’t need expensive ingredients or specialty tools to make it. With just a few simple items from your pantry, you can create a stunning dessert that looks like it came from a professional bakery. It’s a small investment that produces a big impression, which makes it perfect for entertaining without breaking the bank.
For this recipe, you’ll need the following ingredients:
-
Oreo cookies (any flavor you prefer)
-
Cream cheese, softened
-
Nutella or peanut butter (optional for added flavor)
-
Fruit slices or candy pieces for garnish
-
Sprinkles, shredded coconut, or crushed nuts for decoration
With these ingredients, you can start your Oreo Sushi adventure and impress anyone who tries it. Its playful presentation and delightful flavor make it a dessert that everyone remembers, and it’s as enjoyable to make as it is to eat.
How to Prepare Oreo Sushi
Creating Oreo Sushi is surprisingly simple, and the process is just as fun as the final result. In this guide, I’ll take you through every step, making it quick, easy, and fully customizable to suit your taste.
Step 1: Prepare the Oreo Base
Start by separating the Oreo cookies carefully. Twist each cookie to separate the top from the bottom, keeping the cream filling intact on one side. If some of the cream sticks to the other half, simply scrape it off and set it aside—you can reuse it later. This step ensures that the base for your sushi rolls is ready and uniform.
Step 2: Flatten the Cookies
Once the cookies are separated, use a rolling pin to gently flatten the cookie halves. Flattening them creates a thin layer that will resemble the nori in traditional sushi. Make sure to apply even pressure so the cookies don’t crumble, but are soft enough to roll without breaking. This step is crucial for creating a smooth and easy-to-roll sushi effect.
Step 3: Add the Filling
Next, prepare your filling. While the original Oreo cream works beautifully, you can enhance the flavor by adding cream cheese or Nutella. Spread a thin layer evenly over the flattened cookie base. Use a spatula or the back of a spoon to distribute the filling smoothly. Transition words like “next” and “then” will guide you as you layer the ingredients carefully.
Step 4: Add Extra Flavor or Color
This is the point where Oreo Sushi becomes versatile. You can sprinkle small fruit pieces, candy bits, or nuts on top of the filling. These add texture, taste, and visual appeal. Ensure that the toppings are finely chopped, so they roll easily with the cookie. Adding ingredients at this stage allows for customization, so you can create a version perfect for every occasion.
Step 5: Roll the Sushi
Gently lift one edge of the flattened cookie and start rolling it into a cylinder, similar to rolling sushi. Keep the roll tight but not too tight, or the cookies may break. Roll slowly, adjusting the filling and toppings as needed. This step requires a gentle touch, and using your fingers helps to keep the roll neat.
Step 6: Chill the Rolls
Place the rolled Oreo Sushi on a plate and refrigerate for at least 15–20 minutes. Chilling ensures that the rolls hold their shape and makes cutting easier. While it chills, you can prepare your garnishes for the final presentation.
Step 7: Slice the Rolls
After chilling, use a sharp knife to slice the rolls into 1-inch pieces, just like sushi. Wipe the knife clean between cuts to keep the edges neat and prevent crumbs from sticking. This step is where Oreo Sushi truly transforms, revealing its creative layers and making it ready to serve.
Step 8: Decorate and Serve
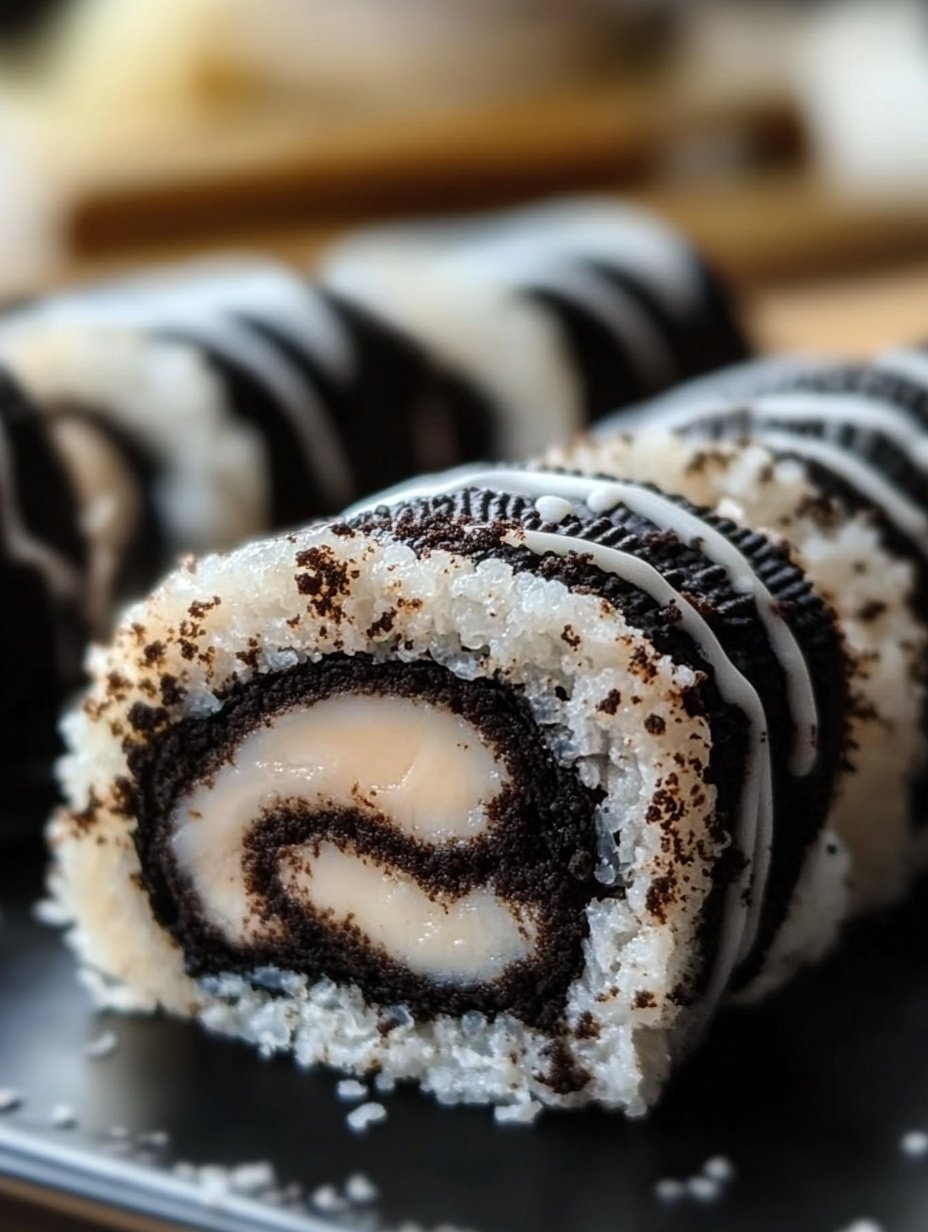
Finally, add your finishing touches. Sprinkle crushed nuts, shredded coconut, or colorful sprinkles over the rolls. You can also drizzle a little chocolate or caramel sauce on top for extra sweetness. Arrange the pieces on a plate as you would traditional sushi, and watch how the playful presentation impresses everyone.
Tips for Quick and Easy Preparation
-
Use pre-crushed toppings to save time
-
Work on a flat, clean surface to prevent crumbs
-
Prepare the filling in advance if making multiple rolls
Customization Options
Oreo Sushi can be adapted to suit any preference. Try different Oreo flavors, alternative fillings like peanut butter cream, or decorative toppings for seasonal themes. It’s a recipe that is popular with both kids and adults because it’s visually appealing and easy to eat.
Following these step-by-step instructions ensures that your Oreo Sushi comes out perfectly every time. The combination of creativity, taste, and fun makes this dessert a standout treat for any occasion.
PrintFun and Easy Oreo Sushi Rolls

Oreo Sushi is a fun, creative dessert that transforms classic Oreo cookies into bite-sized sushi-inspired treats. It’s simple, versatile, and perfect for parties, family gatherings, or as a playful weekend project in the kitchen. With customizable fillings and toppings, Oreo Sushi delights both kids and adults.
- Prep Time: 20
- Total Time: 20 minutes
- Yield: 20
Ingredients
- Oreo cookies (any flavor)
- Cream cheese, softened
- Nutella or peanut butter (optional)
- Fruit slices or candy pieces for garnish
- Sprinkles, shredded coconut, or crushed nuts for decoration
Instructions
- Separate the Oreo cookies carefully, keeping the cream intact on one half.
- Flatten the cookie halves gently with a rolling pin, ensuring they don’t crumble.
- Spread a thin, even layer of cream cheese or optional filling on the flattened cookies.
- Add extra toppings like finely chopped fruit, candy, or nuts for texture and flavor.
- Roll the cookies into cylinders carefully, keeping the roll tight but gentle.
- Refrigerate the rolls for 15–20 minutes to firm them up.
- Use a sharp knife to slice the rolls into 1-inch pieces, wiping the knife clean between cuts.
- Decorate the rolls with sprinkles, shredded coconut, or chocolate drizzle before serving.
Notes
Chilling is crucial to maintain shape.
Customize fillings and toppings for different flavors.
Work on a clean, flat surface to avoid crumbs sticking.
FAQs
Q: Can I use different types of cookies for Oreo Sushi?
A: Absolutely! While classic Oreos work best for flavor and texture, you can experiment with chocolate wafers, sandwich cookies, or flavored Oreos. Just ensure they are sturdy enough to roll without breaking.
Q: How do I prevent the rolls from falling apart?
A: Chilling the rolls for 15–20 minutes before slicing is essential. Additionally, spread the filling evenly and roll gently but firmly. Using a clean, sharp knife also ensures neat slices.
Q: Can I make Oreo Sushi ahead of time?
A: Yes! You can prepare the rolls and store them in an airtight container in the refrigerator for up to 2 days. Decorate just before serving to maintain freshness and appearance.
Q: What fillings can I use besides cream cheese or Nutella?
A: The recipe is versatile. You can use peanut butter, flavored cream cheese, chocolate ganache, or even marshmallow fluff. Mix and match to create unique flavors.
Q: Are there any tips for decorating the rolls?
A: Use finely chopped fruit, candy, nuts, or shredded coconut. Drizzle chocolate or caramel for extra flair. Always add garnishes after slicing to maintain the sushi look.
Q: Is Oreo Sushi kid-friendly?
A: Definitely! It’s a fun, interactive dessert that children enjoy making and eating. Its playful presentation makes it ideal for parties and family treats.