
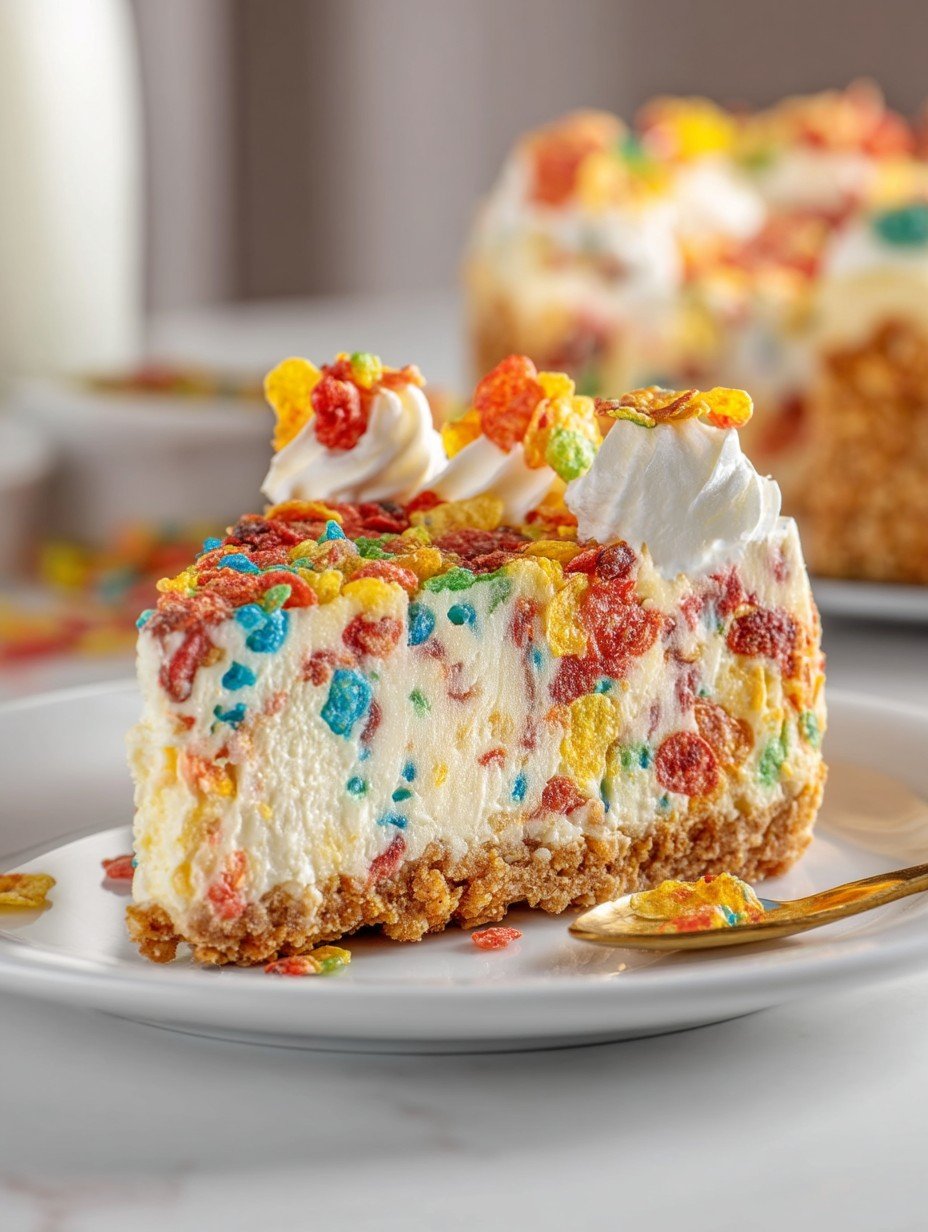
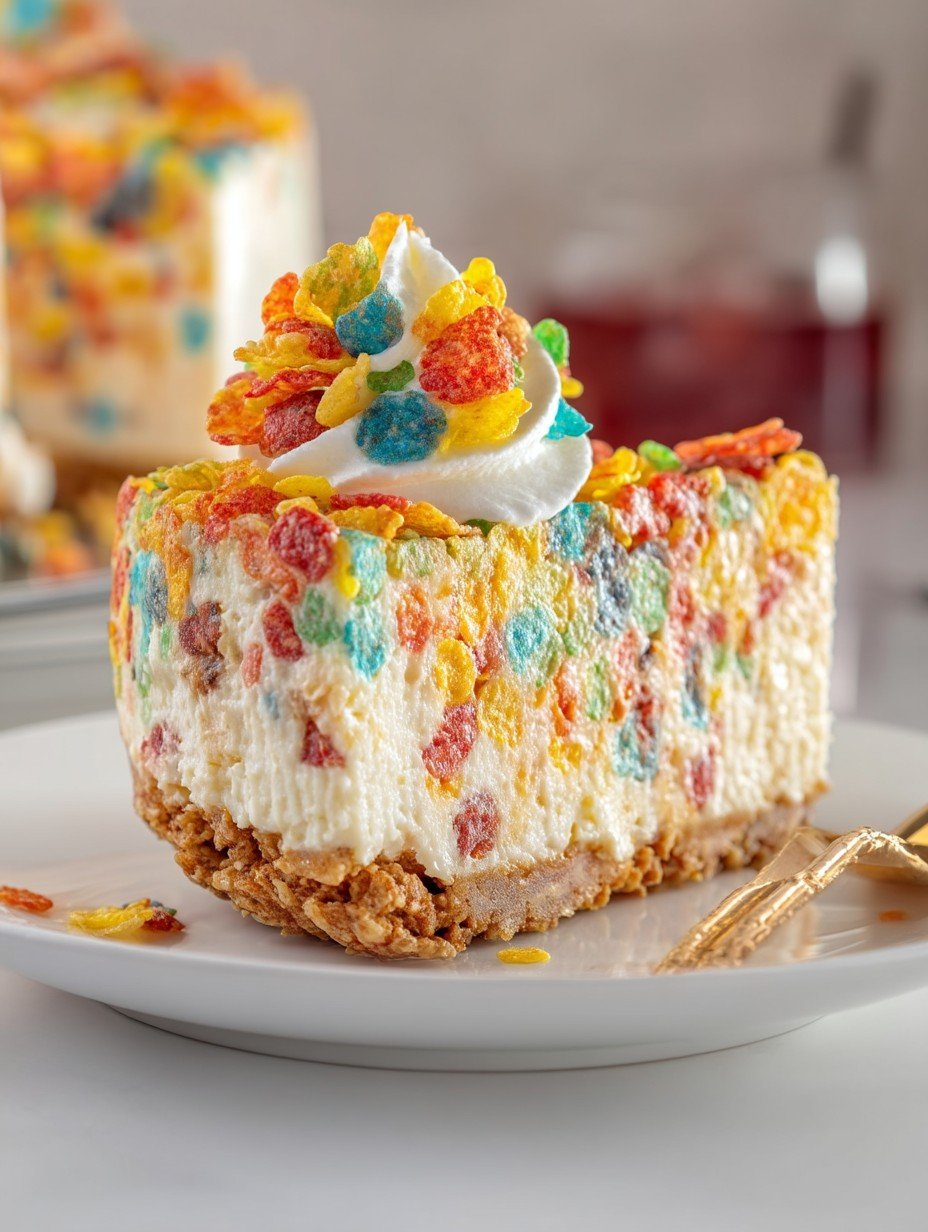
Imagine sinking your fork into a slice of Fruity Pebbles Cheesecake, where the creamy, velvety filling meets the sweet crunch of colorful cereal, creating a party for your taste buds. Each bite bursts with fruity flavors that remind you of childhood mornings spent inhaling bowls of sugary breakfast bliss.
I remember the first time I thought about making this cheesecake; I was in a grocery store aisle staring at a box of Fruity Pebbles. Suddenly, it hit me—why not combine my love for cheesecake with my nostalgia for cereal? I chuckled to myself, imagining how my adult self would react to this sweet concoction. Spoiler alert: it was all giggles and cravings!
Why You’ll Love This Recipe
This Fruity Pebbles Cheesecake is not just easy to whip up; it’s a delightful explosion of flavors that will leave everyone asking for seconds. With its stunning appearance, topped with vibrant colors and textures, it’s perfect for any occasion. Plus, its versatility allows you to customize it with different toppings or variations based on your preferences, ensuring every slice is as unique as you are!
Ingredients for Fruity Pebbles Cheesecake
Here’s what you need for this delicious dish:
How to Make Fruity Pebbles Cheesecake
Follow these simple steps to prepare this delicious dish:
Step 1: Prepare Your Crust
Preheat your oven to 350°F (175°C). In a mixing bowl, combine 1 ½ cups of graham cracker crumbs with ½ cup of melted unsalted butter. Stir until well combined. Press this mixture firmly into the bottom of a 9-inch springform pan. Bake in the preheated oven for 10 minutes until lightly golden. Remove from the oven and let cool while preparing the filling.
Step 2: Mix Your Filling
In another large mixing bowl, beat together 16 ounces of room-temperature cream cheese and 1 cup of granulated sugar using an electric mixer until smooth and creamy (around 2 minutes). Add in ½ cup of sour cream, 1 teaspoon vanilla extract, and 2 tablespoons cornstarch. Beat again until everything is well combined.
Step 3: Fold in Whipped Cream
In a separate bowl, whip 1 cup of heavy whipping cream until soft peaks form (about 3-4 minutes). Gently fold this whipped cream into your cream cheese mixture using a spatula, being careful not to deflate the airiness.
Step 4: Add Fruity Pebbles
Once mixed, gently fold in 1 cup of crushed Fruity Pebbles cereal into the cheesecake batter until evenly distributed. You want those fruity bits throughout each delightful slice!
Step 5: Assemble and Bake
Pour the cheesecake filling over your cooled crust in the springform pan. Smooth out the top with a spatula. Bake in the oven at 325°F (160°C) for about 45-50 minutes or until set but slightly jiggly in the center.
Step 6: Cool Down Time
Turn off the oven and crack open the door slightly. Allow your cheesecake to cool in there for an hour before transferring it to the fridge. It should chill completely for at least four hours or overnight if possible.
When serving, garnish with additional crushed Fruity Pebbles on top and perhaps some whipped cream on each slice! Garnish with fresh mint leaves if you’re feeling extra fancy! Enjoy each spoonful as it brings back those cherished childhood breakfast memories!
Mastering the Secrets of Cooking
To create the perfect Fruity Pebbles Cheesecake, start by mixing your cream cheese until it’s super smooth. Then, fold in the whipped cream gently. This ensures your cheesecake is light and fluffy, avoiding any dense disasters.
Make Your Recipe Unique
Want to switch things up? Try using crushed vanilla wafers instead of Golden Oreos for the crust, or swap out strawberries for fresh blueberries to add a different fruity punch to your Fruity Pebbles Cheesecake.
Smart Storage & Reheating
For optimal freshness, store your Fruity Pebbles Cheesecake in an airtight container in the fridge. To maintain its delightful texture, keep any toppings separate and only add them just before serving.
The Chef’s Golden Tips
One time, I made this Fruity Pebbles Cheesecake for my niece’s birthday. When she took her first bite, her eyes lit up like it was Christmas morning!
Conclusion for Fruity Pebbles Cheesecake
Indulging in this Fruity Pebbles Cheesecake brings a delightful burst of flavor and nostalgia to any gathering. With its creamy texture and vibrant colors, it’s not just a dessert; it’s an experience that captivates both the eyes and the taste buds. Plus, this recipe is simple to follow, making it perfect for bakers of all levels. Don’t miss out on the chance to impress your friends and family with this fun treat! Grab your ingredients today, unleash your creativity, and dive into the colorful world of Fruity Pebbles Cheesecake.
PrintFruity Pebbles Cheesecake

Delicious fruity pebbles cheesecake recipe with detailed instructions and nutritional information.
- Prep Time: 30 minutes
- Cook Time: 45 minutes
- Total Time: 1 hour 15 minutes
- Yield: 8 servings 1x
- Method: Bake
Ingredients
- 1 ½ cups graham cracker crumbs
- ½ cup unsalted butter, melted
- 16 ounces cream cheese, room temperature
- 1 cup granulated sugar
- ½ cup sour cream
- 1 teaspoon vanilla extract
- 2 tablespoons cornstarch
- 1 cup heavy whipping cream
- 1 cup Fruity Pebbles cereal, crushed
- powdered sugar for whipped cream (amount as needed)
Instructions
- Preheat your oven to 350°F (175°C).
- In a mixing bowl, combine 1 ½ cups of graham cracker crumbs with ½ cup of melted unsalted butter.
- Stir until well combined.
- Press this mixture firmly into the bottom of a 9-inch springform pan.
- Bake in the preheated oven for 10 minutes until lightly golden.
- Remove from the oven and let cool while preparing the filling.
- In another large mixing bowl, beat together 16 ounces of room-temperature cream cheese and 1 cup of granulated sugar using an electric mixer until smooth and creamy (around 2 minutes).
- Add in ½ cup of sour cream, 1 teaspoon vanilla extract, and 2 tablespoons cornstarch.
- Beat again until everything is well combined.
- In a separate bowl, whip 1 cup of heavy whipping cream until soft peaks form (about 3-4 minutes).
- Gently fold this whipped cream into your cream cheese mixture using a spatula, being careful not to deflate the airiness.
- Once mixed, gently fold in 1 cup of crushed Fruity Pebbles cereal into the cheesecake batter until evenly distributed.
- Pour the cheesecake filling over your cooled crust in the springform pan.
- Smooth out the top with a spatula.
- Bake in the oven at 325°F (160°C) for about 45-50 minutes or until set but slightly jiggly in the center.
- Turn off the oven and crack open the door slightly.
- Allow your cheesecake to cool in there for an hour before transferring it to the fridge.
- It should chill completely for at least four hours or overnight if possible.
Notes
Store cheesecake in airtight container.
Enjoy chilled; no reheating needed.
Top with whipped cream, enjoy!
Chill overnight for best flavor.
Nutrition
- Calories: 350 kcal
- Sugar: 8g
- Sodium: 150mg
- Fat: 20g
- Carbohydrates: 40g
- Fiber: 1g
- Protein: 6g
- Cholesterol: 25mg
FAQs
How long does it take to make Fruity Pebbles Cheesecake?
Making Fruity Pebbles Cheesecake typically takes about 30 minutes of preparation time and at least 4 hours of chilling time. This allows the cheesecake to set properly for the best texture. Plan ahead so you can enjoy this delicious dessert at its finest!
Can I use other cereals instead of Fruity Pebbles?
While this recipe is specifically for Fruity Pebbles Cheesecake, you can experiment with different cereals if you wish. However, keep in mind that changing the cereal may alter the flavor profile and texture. Stick to Fruity Pebbles for that signature taste!
What should I serve with Fruity Pebbles Cheesecake?
Fruity Pebbles Cheesecake pairs wonderfully with fresh fruit like strawberries or blueberries for added freshness. You can also serve it with a drizzle of fruit sauce or whipped cream to enhance its creamy texture. Enjoy it as a standalone dessert or alongside lighter options!
How should I store leftover Fruity Pebbles Cheesecake?
Store any leftover Fruity Pebbles Cheesecake in an airtight container in the refrigerator. It will stay fresh for up to 3 days. Be sure to cover it well to maintain its delicious flavor and creamy consistency!