
I still remember the first time I made these Easy Garlic Bread Rolls. It was one of those quiet Sunday mornings when I wanted to bake something simple yet incredibly satisfying. I had leftover dough in the fridge, a few cloves of garlic, and a generous block of butter just begging to be used. Within an hour, my kitchen was filled with the warm, inviting aroma of golden-baked bread swirled with garlicky goodness. Since then, these garlic rolls have become a staple in my baking routine—and now, I can’t wait to share them with you.
You will absolutely fall in love with this recipe. These rolls are soft, fluffy, and bursting with rich, buttery garlic flavor. The smell alone will make you hungry before they’re even out of the oven. Whether you’re a seasoned baker or trying homemade bread for the first time, this recipe is foolproof. It’s straightforward, beginner-friendly, and yields bakery-style results with minimal effort.
Another reason to love this recipe? It’s so versatile. You can serve these garlic bread rolls as a side dish for pasta, soup, or grilled meats. You can stuff them with cheese for an extra treat or even slice and use them as mini garlic sandwiches. They’re perfect for weeknight dinners, weekend gatherings, or even as a savory snack during the day.
And let’s talk about how affordable this recipe is. You don’t need any fancy ingredients or expensive tools. Everything used here is probably already in your pantry or fridge. Basic flour, yeast, garlic, and butter are the heart of this recipe—simple, humble components that come together to create something incredibly comforting.
Ingredients for the Recipe:
-
2½ cups all-purpose flour
-
1 cup warm milk
-
2 tablespoons granulated sugar
-
1 tablespoon dry active yeast
-
½ teaspoon salt
-
2 tablespoons unsalted butter (softened)
-
¼ cup unsalted butter (for garlic butter mixture)
-
3–4 cloves garlic (finely minced)
-
1 tablespoon fresh parsley (chopped, optional)
-
Extra flour for kneading
-
1 egg yolk + 1 tablespoon milk (for egg wash)
These garlic bread rolls are everything I love about baking: simple ingredients, comforting flavors, and that warm, homemade magic that brings people together around the table. Stay with me for the next section where I’ll walk you through the step-by-step preparation—trust me, you’ll be amazed at how quickly these rolls come together.
How to Prepare This Recipe
Making these garlic bread rolls is a rewarding experience. Not only are they packed with flavor, but the preparation is surprisingly simple. You’ll start by activating the yeast, then create a soft, pliable dough, allow it to rise, and shape it into perfect little rolls. After baking, the rolls are brushed generously with a fragrant garlic butter glaze that melts right in. Let’s dive into the step-by-step instructions.
Step-by-Step Instructions for Preparation
1. Activate the Yeast
Start by warming the milk until it’s just slightly warmer than room temperature—not hot. Pour the warm milk into a large mixing bowl, add the sugar, and sprinkle in the dry active yeast. Stir gently and let the mixture sit for 5 to 10 minutes. When it becomes foamy on top, the yeast is activated and ready to go.
2. Mix the Dough
Add the softened butter and salt to the yeast mixture. Gradually add in the flour, about ½ cup at a time, mixing continuously until a soft dough begins to form. You can use a stand mixer with a dough hook, or simply knead by hand. The dough should be slightly sticky but manageable.
3. Knead the Dough
Lightly flour a clean surface and knead the dough for about 8–10 minutes. Use the heel of your hands to push and stretch the dough, folding it over itself repeatedly. When it becomes smooth and elastic, you’re done.
4. First Rise
Place the dough in a lightly greased bowl and cover it with a clean kitchen towel or plastic wrap. Let it rise in a warm, draft-free area for about 1 hour, or until it doubles in size. This step allows the yeast to work its magic and gives the rolls their soft, airy texture.
5. Prepare the Garlic Butter
While the dough is rising, make the garlic butter. In a small saucepan, melt ¼ cup of butter over low heat. Add the minced garlic and stir for 30 seconds to 1 minute, just until fragrant. Remove from heat and stir in the chopped parsley if using. Set aside.
6. Shape the Rolls
Once the dough has doubled in size, punch it down gently to release the air. Divide it into equal portions—8 to 10 pieces works well. Roll each piece into a ball and place them evenly spaced on a parchment-lined baking tray or in a greased baking dish.
7. Second Rise
Cover the shaped rolls with a towel and let them rise again for 20–30 minutes. During this time, preheat your oven to 180°C (350°F).
8. Apply Egg Wash
Just before baking, brush each roll lightly with the egg yolk and milk mixture. This gives the rolls that irresistible golden color once baked.
9. Bake the Rolls
Bake in the preheated oven for 18 to 22 minutes, or until the tops are golden brown and the rolls sound hollow when tapped on the bottom.
10. Add Garlic Butter
As soon as the rolls come out of the oven, brush them generously with the warm garlic butter. This step adds deep flavor and helps keep the rolls moist and shiny.
11. Serve Warm
These rolls are best enjoyed fresh and warm from the oven. They can be served on their own or paired with any savory meal.
Quick and Easy
This recipe is ideal for busy home bakers. The dough is simple to work with, and the steps are easy to follow. Most of the time is spent waiting for the dough to rise, so it’s a great make-ahead option too.
Customizable
Want to level up your garlic bread rolls? Try stuffing them with shredded mozzarella before baking. Or sprinkle grated Parmesan on top with the garlic butter for a crusty, cheesy finish. You can even swap the parsley for rosemary or thyme for a different herbal note.
Popular with Many People
Whether I bring them to a potluck or serve them at home, these garlic rolls disappear fast. They’re loved by kids and adults alike and make a lasting impression. With a fluffy center and a rich, savory crust, they’re the kind of comfort food that makes people ask for seconds.
PrintEasy Garlic Bread Rolls Recipe | Yummy Kitchen Baking

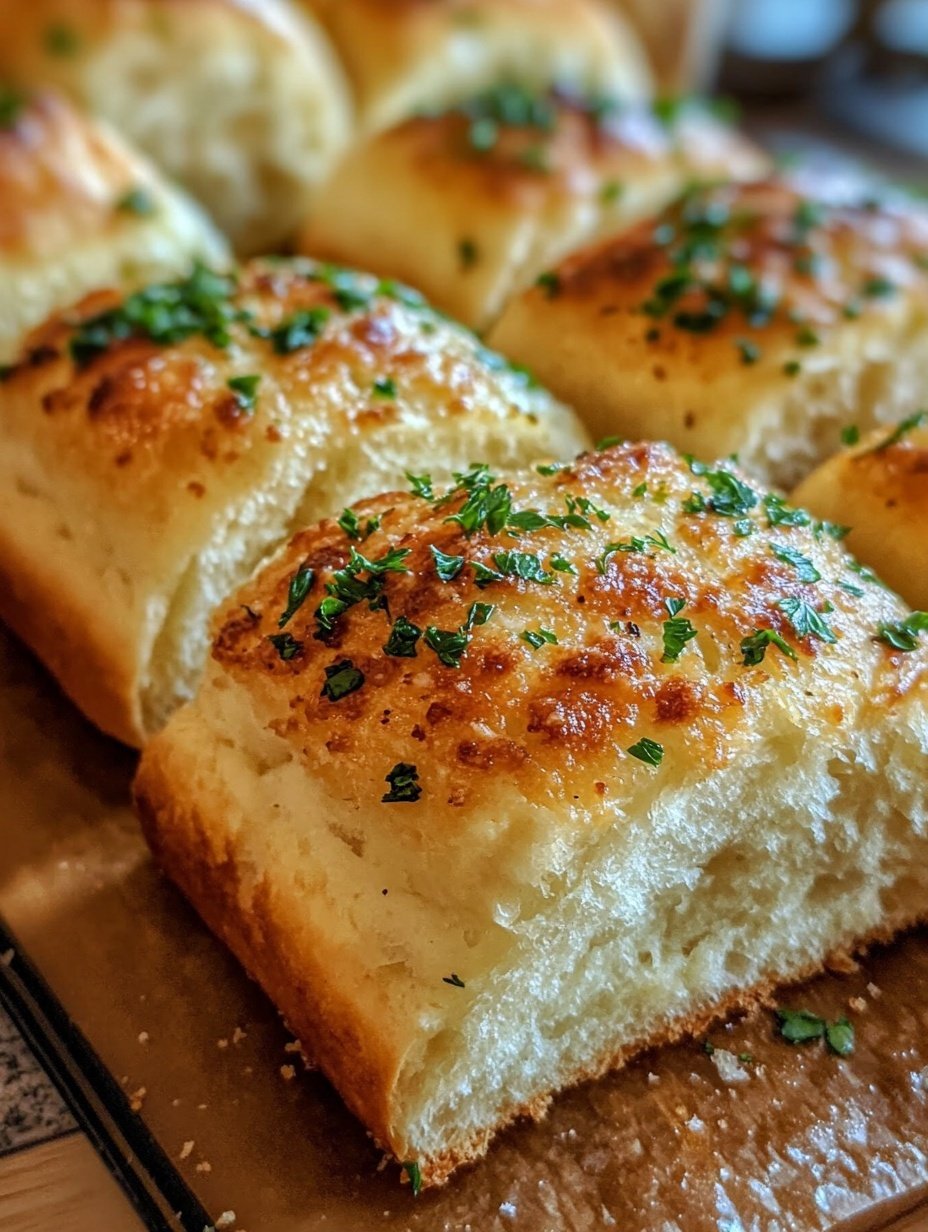
These soft and fluffy garlic bread rolls are the perfect blend of buttery richness and aromatic garlic. Simple to make, affordable, and versatile, they’re ideal for weeknight dinners, parties, or cozy baking days at home. With just a few pantry staples, you’ll have a tray of freshly baked rolls that everyone will love.
- Prep Time: 15
- Cook Time: 20
- Total Time: 35 minutes
- Yield: 10 1x
Ingredients
- 2½ cups all-purpose flour
- 1 cup warm milk
- 2 tablespoons granulated sugar
- 1 tablespoon dry active yeast
- ½ teaspoon salt
- 2 tablespoons unsalted butter (softened)
- ¼ cup unsalted butter (for garlic butter mixture)
- 3–4 cloves garlic (finely minced)
- 1 tablespoon fresh parsley (chopped, optional)
- Extra flour for kneading
- 1 egg yolk + 1 tablespoon milk (for egg wash)
Instructions
- Activate the yeast:
Pour the warm milk into a large mixing bowl. Add the sugar and sprinkle the dry active yeast over the top. Stir lightly and allow it to rest for 5–10 minutes, until the surface becomes foamy. - Mix the dough:
Add the softened butter and salt to the activated yeast mixture. Gradually add flour, ½ cup at a time, mixing continuously until a soft dough forms. - Knead the dough:
Lightly flour a clean surface. Knead the dough by hand for 8–10 minutes, or until smooth and elastic. Add a small amount of flour if the dough is sticky. - First rise:
Place the dough in a greased bowl. Cover with a clean towel and allow it to rise in a warm place for 1 hour, or until doubled in size. - Make the garlic butter:
In a small pan, melt ¼ cup butter over low heat. Add minced garlic and cook for 30 seconds. Remove from heat and stir in chopped parsley. Set aside. - Shape the rolls:
Punch down the risen dough and divide it into 8–10 equal portions. Roll each piece into a smooth ball and place on a parchment-lined tray or greased baking dish. - Second rise:
Cover the rolls with a towel and let them rise for 20–30 minutes. Meanwhile, preheat the oven to 180°C (350°F). - Apply egg wash:
Mix egg yolk with 1 tablespoon milk. Brush the tops of the rolls gently with the mixture. - Bake:
Bake for 18–22 minutes or until golden brown and baked through. - Brush with garlic butter:
Once out of the oven, immediately brush the tops of the rolls with warm garlic butter for added flavor and moisture. - Serve:
Let the rolls cool slightly. Serve warm with your favorite meals or enjoy on their own.
Notes
You may substitute the parsley with rosemary or thyme.
For added richness, stuff each dough ball with shredded cheese before baking.
For egg-free version, skip egg wash and use milk or melted butter only.
FAQs
Can I use instant yeast instead of dry active yeast?
Yes, you can. If using instant yeast, there’s no need to activate it in warm milk first. Simply mix it directly with the flour and other dry ingredients. However, the rising times may be slightly shorter, so keep an eye on the dough.
Can I make these rolls ahead of time?
Absolutely. You can prepare the dough, shape the rolls, and refrigerate them overnight before baking. Just let them come to room temperature and rise a bit before placing them in the oven. You can also freeze the baked rolls and reheat them later.
Can I make this recipe dairy-free?
Yes, you can substitute the milk with any plant-based milk such as almond or oat milk. Replace the butter with dairy-free margarine or vegan butter. The texture may vary slightly, but the result will still be soft and flavorful.
How do I store leftovers?
Store any leftover garlic bread rolls in an airtight container at room temperature for up to 2 days. For longer storage, refrigerate for up to 5 days. To enjoy them again, reheat in the oven at 160°C (320°F) for about 5–7 minutes.
What type of flour works best?
All-purpose flour is ideal for this recipe. However, if you want a chewier texture, you can substitute half of the flour with bread flour. Avoid using whole wheat flour unless it’s blended, as it can make the rolls dense.
Can I skip the egg wash?
You can, but the rolls won’t have the same glossy, golden finish. If you prefer not to use eggs, brush the tops with milk or a mix of milk and melted butter instead.
Why didn’t my dough rise?
The most common reason is inactive yeast. Always check the expiration date, and ensure the milk isn’t too hot, as high heat can kill the yeast. Also, allow the dough to rise in a warm area—cold environments can slow fermentation.