
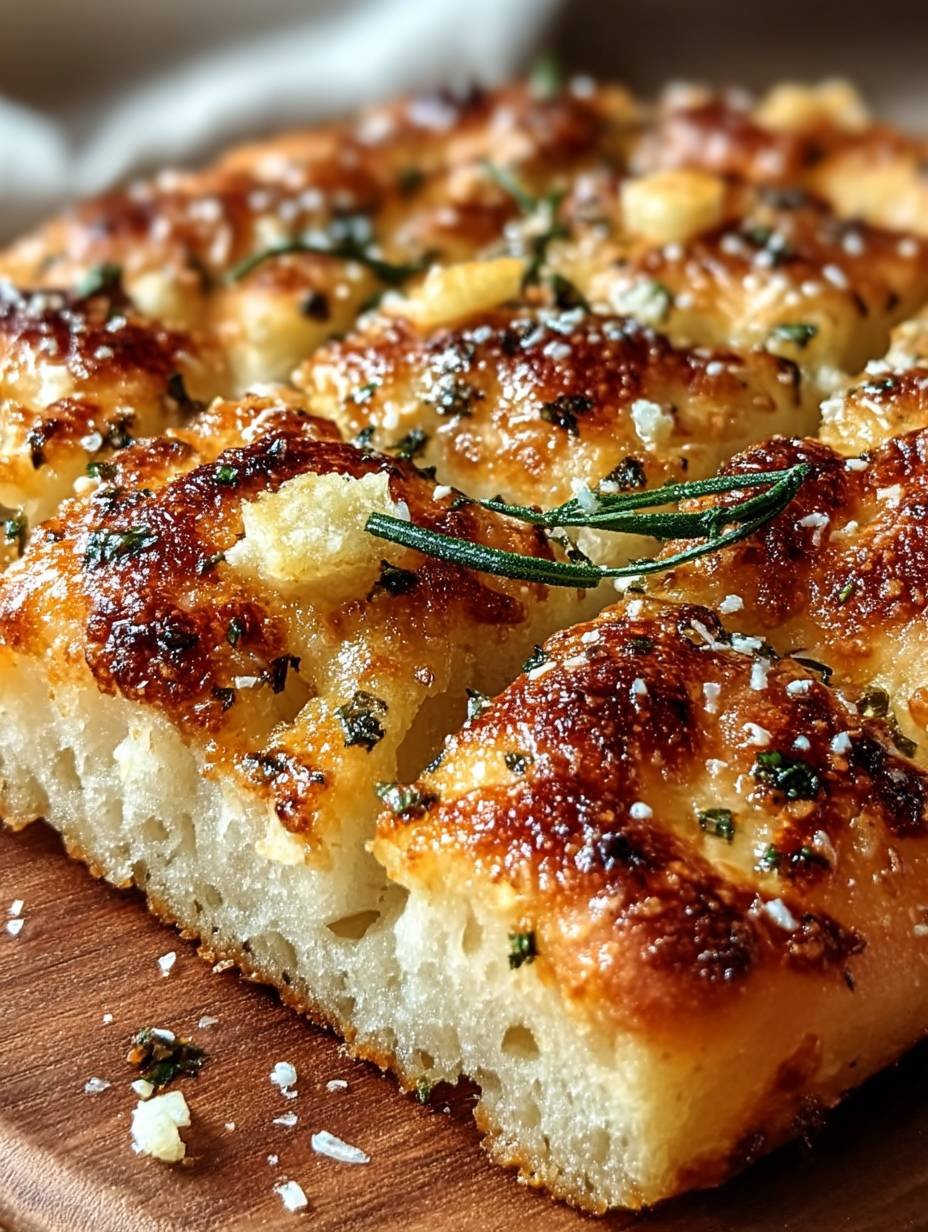
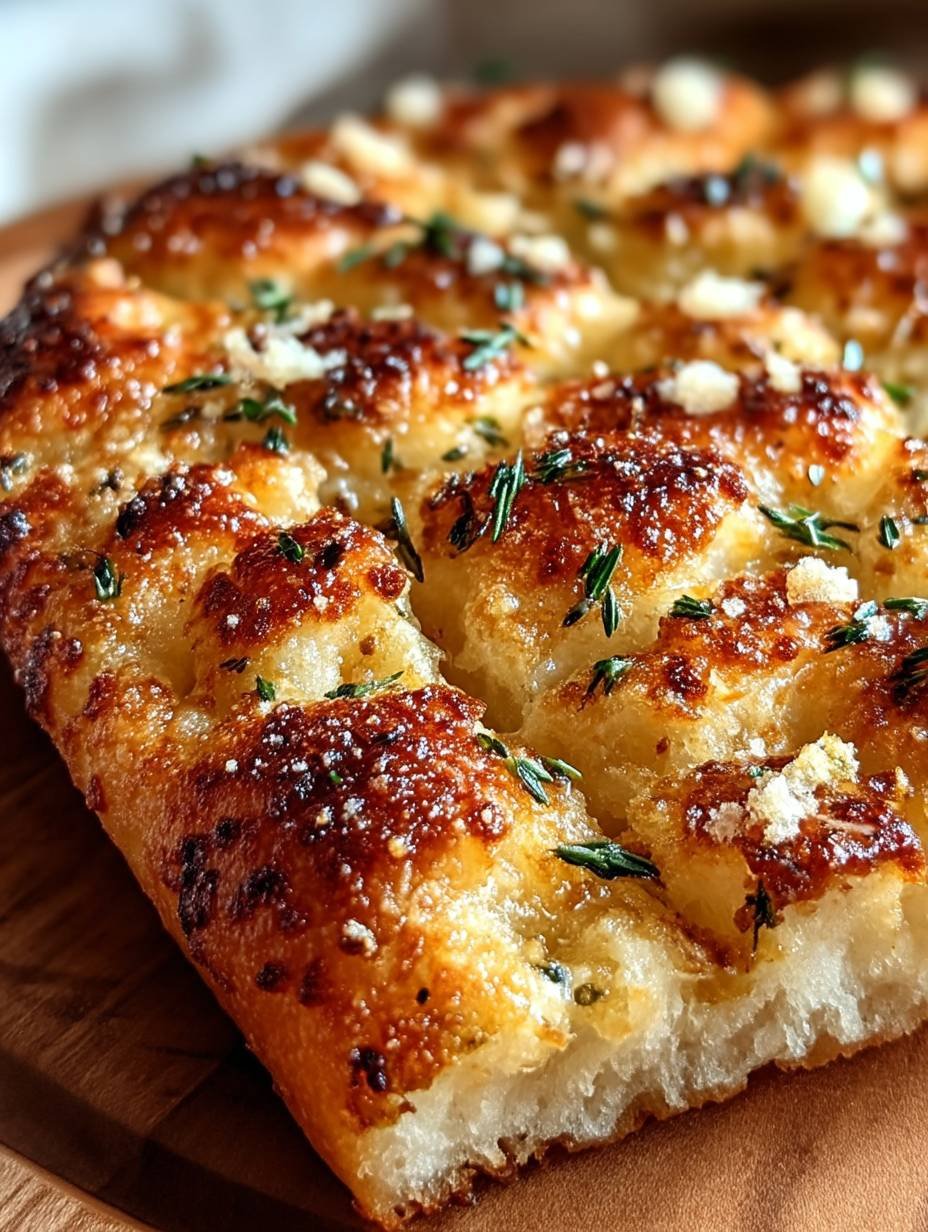
Picture this: a golden-brown loaf of foccacia emerges from the oven, the aroma of garlic and melting cheese wafting through your kitchen. Each bite is crispy on the outside and chewy on the inside, topped with a generous dusting of Parmesan that makes your taste buds sing in delight.
I remember the first time I tried making focaccia bread; it was an ambitious attempt at impressing my friends during a pizza night. Spoiler alert: I ended up with a flatbread that looked more like a pancake than anything else. However, that mishap didn’t deter me but rather ignited my passion for perfecting this delightful recipe. Now, my Crispy and Cheesy Garlic Parmesan Focaccia Bread is the star of every gathering—no pancake-like disasters in sight!
What Makes This Recipe Special
This crispy and cheesy garlic Parmesan focaccia bread you’ll love is not just easy to prepare but bursts with unique flavors that will have everyone asking for seconds. Its stunning golden appearance catches the eye while its soft, airy texture invites you to dive right in. Plus, this recipe is incredibly versatile—you can customize it with your favorite toppings or herbs to match any occasion.
Ingredients for Crispy and Cheesy Garlic Parmesan Focaccia Bread You’ll Love
Here’s what you need for this delicious dish:
Complete Preparation Method Crispy and Cheesy Garlic Parmesan Focaccia Bread You’ll Love
Simply follow these easy steps to prepare this delicious meal:
Step 1: Activate Your Yeast
In a bowl, combine warm water and active dry yeast. Stir gently and let sit for about 5-10 minutes until foamy—this means your yeast is alive and ready to party!
Step 2: Mix the Dough
In a large mixing bowl, add all-purpose flour, salt, dried Italian herbs, and half of your grated Parmesan cheese. Pour in the activated yeast mixture along with olive oil. Stir until it forms a shaggy dough; don’t worry if it looks like it just rolled out of bed.
Step 3: Knead Like You Mean It
Transfer the dough onto a floured surface. Knead it gently for about 8-10 minutes until smooth and elastic—the kind of texture that reminds you why you love carbs so much!
Step 4: Let It Rise
Place your dough into a greased bowl, cover it with plastic wrap or a damp cloth, and let it rise in a warm place until doubled in size (about 1 hour). Use this time wisely—perhaps binge-watch your favorite show or contemplate life choices.
Step 5: Shape Your Focaccia
Once risen, punch down the dough (it needs to know who’s boss), then transfer it onto an oiled baking sheet. Press it out gently into an approximately half-inch thick rectangle. Use your fingers to create dimples all over—these are perfect spots for garlic love!
Step 6: Bake It Up
Preheat your oven to 425°F (220°C). In a small bowl, mix minced garlic with olive oil, then brush generously over your dimpled dough. Sprinkle remaining Parmesan cheese on top along with extra salt or pepper flakes if desired. Bake for 20-25 minutes until golden brown.
Garnish with fresh herbs if you fancy! Serve immediately while still warm for optimal crispiness—your friends will be begging for this crispy and cheesy garlic Parmesan focaccia bread you’ll love at every gathering!
Mastering the Secrets of Cooking
To achieve the perfect Crispy and Cheesy Garlic Parmesan Focaccia Bread You’ll Love, ensure your dough rises in a warm environment. Knead it well for elasticity, and don’t rush the baking time. These steps create that delightful crispy crust you crave.
Make Your Recipe Unique
For a twist on your Crispy and Cheesy Garlic Parmesan Focaccia Bread You’ll Love, try using different cheeses like mozzarella or gouda instead of parmesan. You can also add sun-dried tomatoes or olives for an exciting flavor boost.
Smart Storage & Reheating
To keep your Crispy and Cheesy Garlic Parmesan Focaccia Bread You’ll Love crunchy, store it in an airtight container at room temperature. Reheat in a preheated oven to restore its crispness before serving.
The Chef’s Golden Tips
I still remember the first time I baked this Crispy and Cheesy Garlic Parmesan Focaccia Bread You’ll Love. My friends devoured it within minutes, and I was crowned the official “Focaccia Queen” of our group!
Conclusion for Crispy and Cheesy Garlic Parmesan Focaccia Bread You’ll Love
This Crispy and Cheesy Garlic Parmesan Focaccia Bread You’ll Love brings together the perfect blend of flavors and textures, making it an ideal companion for any meal or a delightful snack on its own. The golden crust, infused with garlic and topped with rich parmesan, creates a sensory experience that is simply irresistible. Plus, it’s easy to prepare at home! So why wait? Gather your ingredients and indulge in this delicious focaccia bread today. Your taste buds will thank you!
PrintCrispy and Cheesy Garlic Parmesan Focaccia Bread You’ll Love

Delicious crispy and cheesy garlic parmesan focaccia bread you’ll love recipe with detailed instructions and nutritional information.
- Prep Time: 30 minutes
- Cook Time: 30 minutes
- Total Time: 1 hour
- Yield: 8 servings 1x
- Method: Bake
Ingredients
- 4 cups all-purpose flour
- 1 1/2 cups warm water, between 100°F and 110°F
- 2 teaspoons active dry yeast
- 1/4 cup olive oil, plus more for greasing and brushing
- 4 garlic cloves, minced
- 1 cup grated Parmesan cheese, divided
- 2 teaspoons kosher salt
- 1 tablespoon dried Italian herbs
- 1 teaspoon pepper flakes (optional)
Instructions
- In a bowl, combine warm water and active dry yeast.
- Stir gently and let sit for about 5-10 minutes until foamy.
- In a large mixing bowl, add all-purpose flour, salt, dried Italian herbs, and half of your grated Parmesan cheese.
- Pour in the activated yeast mixture along with olive oil.
- Stir until it forms a shaggy dough.
- Transfer the dough onto a floured surface.
- Knead it gently for about 8-10 minutes until smooth and elastic.
- Place your dough into a greased bowl, cover it with plastic wrap or a damp cloth, and let it rise in a warm place until doubled in size (about 1 hour).
- Once risen, punch down the dough and transfer it onto an oiled baking sheet.
- Press it out gently into an approximately half-inch thick rectangle.
- Use your fingers to create dimples all over the dough.
- Preheat your oven to 425°F (220°C).
- In a small bowl, mix minced garlic with olive oil.
- Brush generously over your dimpled dough.
- Sprinkle remaining Parmesan cheese on top along with extra salt or pepper flakes if desired.
- Bake for 20-25 minutes until golden brown.
Notes
Store leftover focaccia in an airtight container to maintain freshness.
Reheat in the oven for crispy texture and melted cheese.
Serve warm with marinara sauce for dipping delight.
Use fresh herbs for enhanced flavor and aroma in the dough.
Nutrition
- Calories: 300 kcal
- Sugar: 8g
- Sodium: 500mg
- Fat: 15g
- Carbohydrates: 35g
- Fiber: 3g
- Protein: 8g
- Cholesterol: 25mg
FAQs
How long does it take to make Crispy and Cheesy Garlic Parmesan Focaccia Bread?
Making this focaccia bread typically takes about 2 hours from start to finish. This includes preparation time, allowing the dough to rise, and baking it until golden brown. The actual hands-on time is much shorter, making it an enjoyable recipe for both novice and experienced bakers.
Can I use a different type of cheese in the focaccia?
Yes, you can experiment with different types of cheese for your Crispy and Cheesy Garlic Parmesan Focaccia Bread. While parmesan adds a wonderful flavor, cheeses like mozzarella or cheddar can also work well. Just ensure they melt nicely to achieve that gooey texture you desire.
What should I serve with my focaccia bread?
Crispy and Cheesy Garlic Parmesan Focaccia Bread pairs wonderfully with soups, salads, or as a side dish for pasta. You can also enjoy it on its own or with dips like olive oil or balsamic vinegar for an enhanced flavor experience.
How do I store leftover focaccia bread?
To store leftover Crispy and Cheesy Garlic Parmesan Focaccia Bread, wrap it tightly in plastic wrap or aluminum foil to maintain freshness. Place it in an airtight container at room temperature for up to 2 days. For longer storage, you can freeze the focaccia by slicing it first and then wrapping each slice individually before placing them in a freezer bag.