
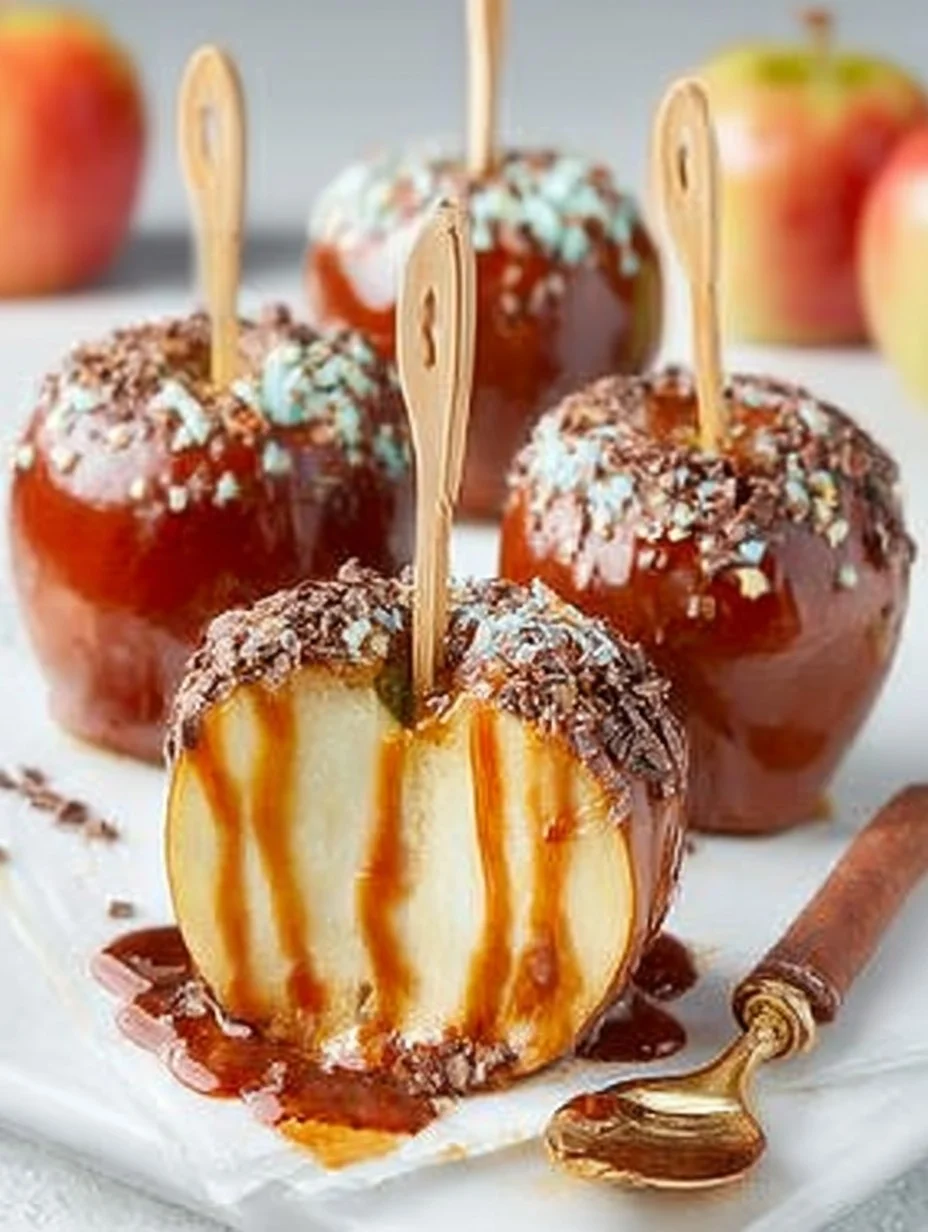
Picture this: a crisp, juicy apple coated in a luscious layer of rich caramel that melts in your mouth with each bite. The sweet, buttery flavor mingles with the subtle tartness of the apple, creating a delightful treat that’s hard to resist.
Growing up, my family had this annual tradition where we’d make caramel apples every fall. I fondly remember the chaos of my siblings and I trying to dunk our apples while simultaneously avoiding sticky fingers and the occasional caramel-splattered kitchen counter. Who knew that making these sweet delights could turn into an all-out family affair?
What Makes This Recipe Special
This caramel apple recipe is a breeze to prepare, making it perfect for both seasoned chefs and kitchen novices. With its unique blend of sweet and slightly tart flavors, these treats are sure to impress anyone who sees (or tastes) them. Plus, they look stunning on a dessert table! The best part? You can customize your caramel apples with toppings like nuts or sprinkles to suit any palate.
Ingredients for CARAMEL APPLES
Complete Preparation Method CARAMEL APPLES
Simply follow these easy steps to prepare this delicious meal:
Step 1: Prepare Your Apples
Wash and dry the apples thoroughly. Insert wooden sticks into the center of each apple for easy dipping. If you’re feeling fancy, you can let them chill in the fridge for 30 minutes; it helps the caramel adhere better.
Step 2: Melt Your Caramel
In a medium saucepan over low heat, combine about 14 ounces of unwrapped caramel candies with 2 tablespoons of heavy cream. Stir continuously until smooth and melted—this should take about 5-7 minutes. Don’t wander off; we want gooey caramel, not burnt candy!
Step 3: Dip Away
Once your caramel is velvety and irresistible, hold each apple by its stick and dip it into the warm caramel. Rotate it gently to ensure an even coating—think of it as giving your apple a luxurious spa treatment. Let any excess drip off before placing it on a parchment-lined baking sheet.
Step 4: Add Toppings
If you’re using nuts or sprinkles, sprinkle them generously over the still-warm caramel on each apple before it sets. For chocolate lovers, melt some chocolate chips in another bowl (microwave in short bursts until smooth) and drizzle over your creation as an extra layer of decadence.
Step 5: Set Them Up
Allow the dipped apples to cool at room temperature until the caramel is set—about 30 minutes should do it! If you’re impatient like me, pop them in the fridge for quicker results.
Step 6: Serve and Enjoy!
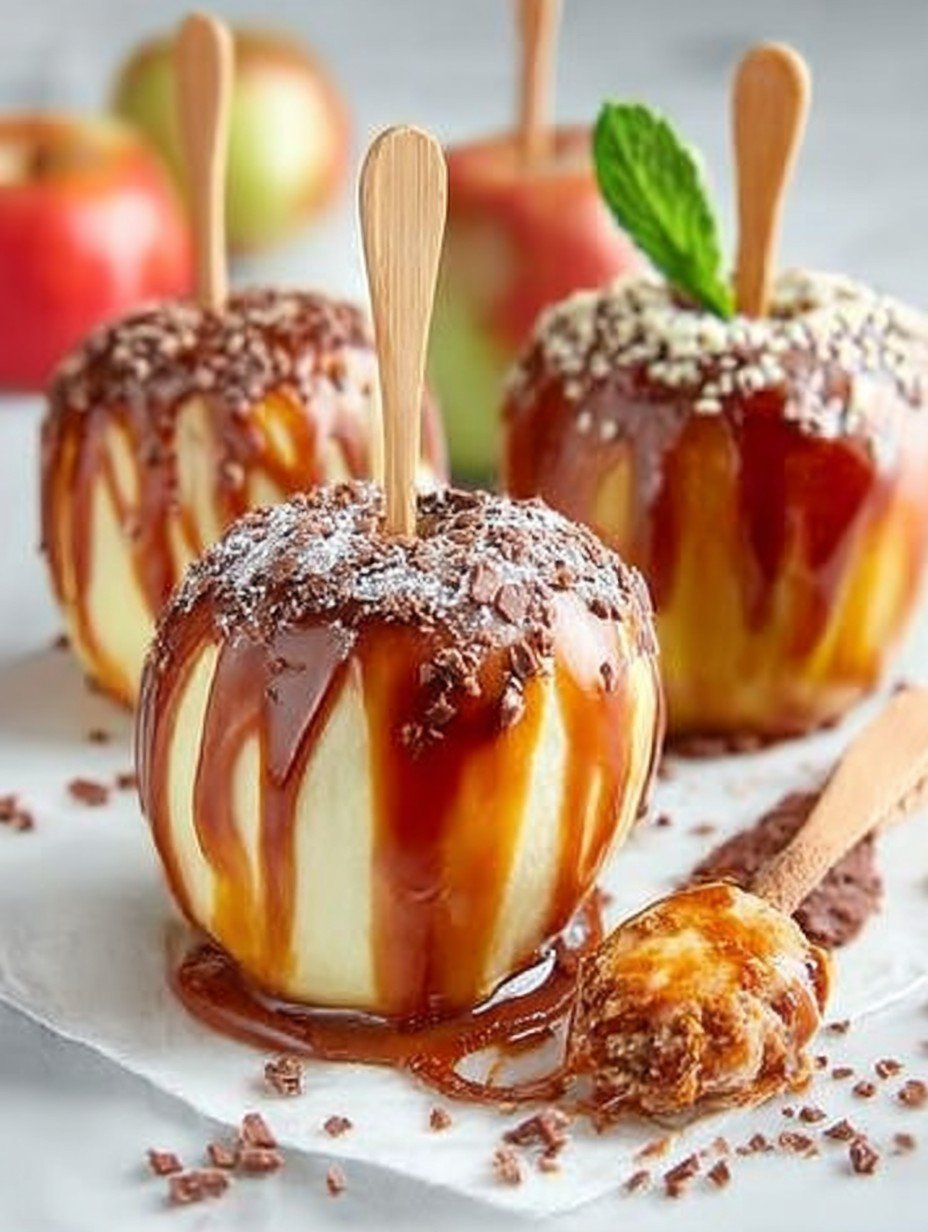
Garnish with fresh mint leaves or serve on a decorative platter for added flair. These beauties are best enjoyed fresh but can be stored in an airtight container at room temperature for a couple of days if you manage not to eat them all at once!
Now you’re ready to impress friends, family, or just yourself with these delightful caramel apples! Whether you’re reminiscing about childhood memories or starting new traditions, each sticky bite is bound to spark joy (and maybe even some laughter). Enjoy!
Mastering the Secrets of Cooking
For perfect caramel apples, start by thoroughly washing the apples to remove any wax. Next, dry them completely before dipping to ensure the caramel adheres beautifully. Remember to have everything ready so you can work quickly while the caramel is still warm and pliable.
Make Your Recipe Unique
Want to get creative with your caramel apples? Swap out traditional apples for crisp pears or even tart green apples. You can also experiment with different toppings like crushed nuts, sprinkles, or drizzled chocolate for a delicious twist.
Smart Storage & Reheating
To maintain that delightful crunch of your caramel apples, store them in a cool, dry place, ideally in a single layer. Avoid refrigerating them, as moisture can ruin the caramel’s texture and make it sticky.
The Chef’s Golden Tips
I still remember the first time I made caramel apples at a fall festival. My friends and I were covered in sticky goo but laughed so hard we forgot all our worries!
Conclusion for CARAMEL APPLES
Indulging in homemade caramel apples is a delightful experience that combines the sweetness of fresh apples with the rich, buttery flavor of caramel. This recipe not only brings joy but also allows you to customize your toppings, making each bite uniquely yours. The process is simple and rewarding, perfect for family gatherings or cozy evenings at home. We invite you to try these caramel apples and share your creations with loved ones. Dive into this sensory delight and savor every delicious moment!
PrintCARAMEL APPLES

Delicious caramel apples recipe with detailed instructions and nutritional information.
- Prep Time: 30 minutes
- Cook Time: 30 minutes
- Total Time: 1 hour
- Yield: 4 servings 1x
- Method: Stovetop
Ingredients
- 4 firm apples (like Granny Smith or Honeycrisp)
- 14 ounces caramel candies
- 2 tablespoons heavy cream
- Chopped nuts (optional, like peanuts or almonds)
- Chocolate chips (optional)
- Sprinkles (optional)
Instructions
- Wash and dry the apples thoroughly.
- Insert wooden sticks into the center of each apple for easy dipping.
- In a medium saucepan over low heat, combine about 14 ounces of unwrapped caramel candies with 2 tablespoons of heavy cream.
- Stir continuously until smooth and melted, which should take about 5-7 minutes.
- Hold each apple by its stick and dip it into the warm caramel.
- Rotate the apple gently to ensure an even coating.
- Let any excess drip off before placing the apple on a parchment-lined baking sheet.
- Sprinkle nuts or sprinkles over the still-warm caramel on each apple before it sets, if using.
- Melt some chocolate chips in another bowl and drizzle over the apples as an extra layer of decadence, if desired.
- Allow the dipped apples to cool at room temperature until the caramel is set, which should take about 30 minutes.
- Garnish with fresh mint leaves or serve on a decorative platter before serving.
Notes
Store caramel apples in cool, dry place.
Reheat caramel gently in microwave.
Serve with chopped nuts or sprinkles.
Use fresh apples for best flavor.
Nutrition
- Calories: 250 kcal
- Sugar: 35g
- Sodium: 50mg
- Fat: 8g
- Carbohydrates: 45g
- Fiber: 3g
- Protein: 1g
- Cholesterol: 25mg
FAQs
How do I store leftover caramel apples?
To store leftover caramel apples, place them in an airtight container at room temperature for up to three days. Avoid refrigerating them, as this can cause the caramel to become sticky or lose its glossy finish. If you want to keep them for a longer period, consider wrapping each apple individually in wax paper before placing them in the container.
Can I use different types of apples for this recipe?
Absolutely! While tart varieties like Granny Smith are popular for their contrast against the sweet caramel, you can use any apple you prefer. Crisp and firm apples like Fuji, Honeycrisp, or Gala work wonderfully too. Experiment with different flavors to find your favorite combination!
What can I use as a substitute for traditional caramel?
If you’re looking for alternatives to traditional caramel that fit dietary preferences, consider using plant-based caramels made from coconut cream and maple syrup. These options provide a similar sweet flavor and texture without compromising on taste. Just melt and drizzle over your apples as you would with classic caramel.
How can I add more flavor to my caramel apples?
To enhance the flavor of your caramel apples, consider adding spices like cinnamon or nutmeg to the melted caramel before dipping the apples. You can also roll them in crushed nuts, sprinkles, or even drizzle some melted chocolate on top after the caramel has hardened. This way, each apple provides a delightful burst of flavor!