
I still remember the first time I baked this Caramel Brownie Cheesecake in my kitchen. It was one of those recipes that came together almost by accident. I had some leftover brownies, cream cheese that needed to be used, and a jar of caramel sauce staring at me from the pantry. Combining those three seemed like an indulgent experiment, but what came out of the oven was nothing short of magical. The moment I sliced into it, the layers of fudgy brownie, silky cheesecake, and glossy caramel topping looked like a dessert straight from a bakery showcase. From that day forward, it became a go-to recipe in my home whenever I wanted to wow guests or treat myself to something extra special.
Why will you love this recipe? Because it is the perfect balance of textures and flavors. The fudgy brownie crust gives every bite a chewy base, the creamy cheesecake layer melts smoothly in the mouth, and the caramel drizzle ties everything together with its rich sweetness. If you’ve ever wanted a dessert that feels luxurious but is surprisingly achievable, this one is for you. It’s the kind of cake that makes people ask for seconds and request the recipe before the evening ends.
This cheesecake is also wonderfully versatile. You can prepare it for birthdays, holidays, family gatherings, or even a quiet weekend at home. It holds its place equally well on a festive dessert table or as the star of a cozy dinner with friends. The flavor combinations work for all ages, which makes it a safe yet impressive choice whenever you need a crowd-pleaser. You can also customize it to your taste by adding nuts, a chocolate drizzle, or even a swirl of peanut butter along with the caramel.
Another reason I love baking this recipe is its affordability. While it looks and tastes like something straight out of a gourmet bakery, the ingredients are simple and budget-friendly. Most of them are pantry staples, which means you don’t have to go hunting for anything too fancy. Brownies, cream cheese, caramel sauce, and a few baking essentials are all you need to create this masterpiece. With minimal effort and cost, you’ll end up with a dessert that looks like it belongs on a magazine cover.
Ingredients for Caramel Brownie Cheesecake
-
Brownie mix (or homemade brownies, baked and cooled)
-
Cream cheese
-
Granulated sugar
-
Eggs
-
Vanilla extract
-
Sour cream
-
Caramel sauce
-
Optional: chopped nuts or chocolate chips
How to Prepare This Recipe
When I prepare my Caramel Brownie Cheesecake, I like to think of it as building layers of flavor. Each step adds something important, and by the time it all comes together, the result feels both decadent and beautifully balanced. The process may look long at first, but it is actually straightforward. With a little patience and attention, you can bake a cheesecake that feels bakery-worthy without needing professional skills.
Step-by-Step Instructions for Preparation
Step 1: Prepare the brownie base
Start by preheating your oven to 350°F (175°C). Grease and line the bottom of a springform pan with parchment paper to make sure the cheesecake can be removed easily later. Bake your brownie layer first. You can use a store-bought brownie mix for convenience or prepare a homemade version if you prefer. Pour the brownie batter into the pan, spread it evenly, and bake until set but still slightly fudgy in the center. Let it cool completely before moving to the next step. This ensures that your cheesecake layer sits firmly on top without sinking.
Step 2: Prepare the cheesecake filling
In a large mixing bowl, beat the softened cream cheese until smooth and lump-free. Add granulated sugar and beat again until the mixture looks creamy. Next, add the eggs one at a time, mixing on low speed after each addition. This helps prevent air bubbles that could crack your cheesecake while baking. Stir in vanilla extract and sour cream for a silky, tangy finish. The sour cream also balances the richness of the brownie and caramel.
Step 3: Assemble the cheesecake
Pour the cheesecake batter over the cooled brownie base, spreading it evenly with a spatula. Gently tap the pan on the counter to release any trapped air bubbles. Place the pan on a baking sheet to catch spills, then slide it into the oven. Bake at 325°F (160°C) for about 50–60 minutes. You’ll know it’s ready when the edges are set but the center still jiggles slightly when the pan is gently shaken.
Step 4: Cool gradually
Turn off the oven, open the door slightly, and let the cheesecake cool inside for about 1 hour. This slow cooling prevents cracks from forming on the surface. Once it has rested, transfer it to the refrigerator and chill for at least 4 hours, preferably overnight. Chilling allows the flavors to meld together and gives the cheesecake its firm yet creamy texture.
Step 5: Add the caramel topping
Just before serving, drizzle caramel sauce generously over the top of the cheesecake. Let it drip down the sides for a beautiful presentation. If you like extra crunch, sprinkle chopped nuts or chocolate chips on top. The caramel adds that final touch of sweetness and shine that makes the cheesecake irresistible.
Quick and Easy
Although cheesecake often has a reputation for being tricky, this recipe is surprisingly quick once you break it down. The brownie base bakes in minutes, and the cheesecake filling requires only a handful of ingredients that blend together in a single bowl. Most of the time spent on this dessert is simply waiting for it to bake and chill. This means you can easily prepare it a day ahead of a celebration, leaving you free to focus on other details.
Customizable
The beauty of this recipe lies in its flexibility. If you want to take it in a different direction, try adding a swirl of peanut butter before baking, or drizzle melted chocolate on top along with the caramel. For those who enjoy a bit of crunch, chopped pecans, walnuts, or almonds can be sprinkled into the brownie layer or over the final topping. You can even switch the caramel for a fruit sauce like raspberry or strawberry if you prefer a slightly lighter flavor. Each variation still holds true to the creamy cheesecake base while adding a personal twist.
Popular With Many People
Whenever I serve this Caramel Brownie Cheesecake, I notice the same thing: the dessert disappears quickly. It appeals to chocolate lovers, cheesecake fans, and anyone with a sweet tooth. Children love the brownie base, adults appreciate the balance of flavors, and everyone enjoys the caramel topping. It’s the kind of recipe that fits seamlessly into any occasion, from casual potlucks to elegant dinner parties. Because it looks as good as it tastes, it often becomes the centerpiece of the table.
PrintBEST RECIPE for Caramel Brownie Cheesecake

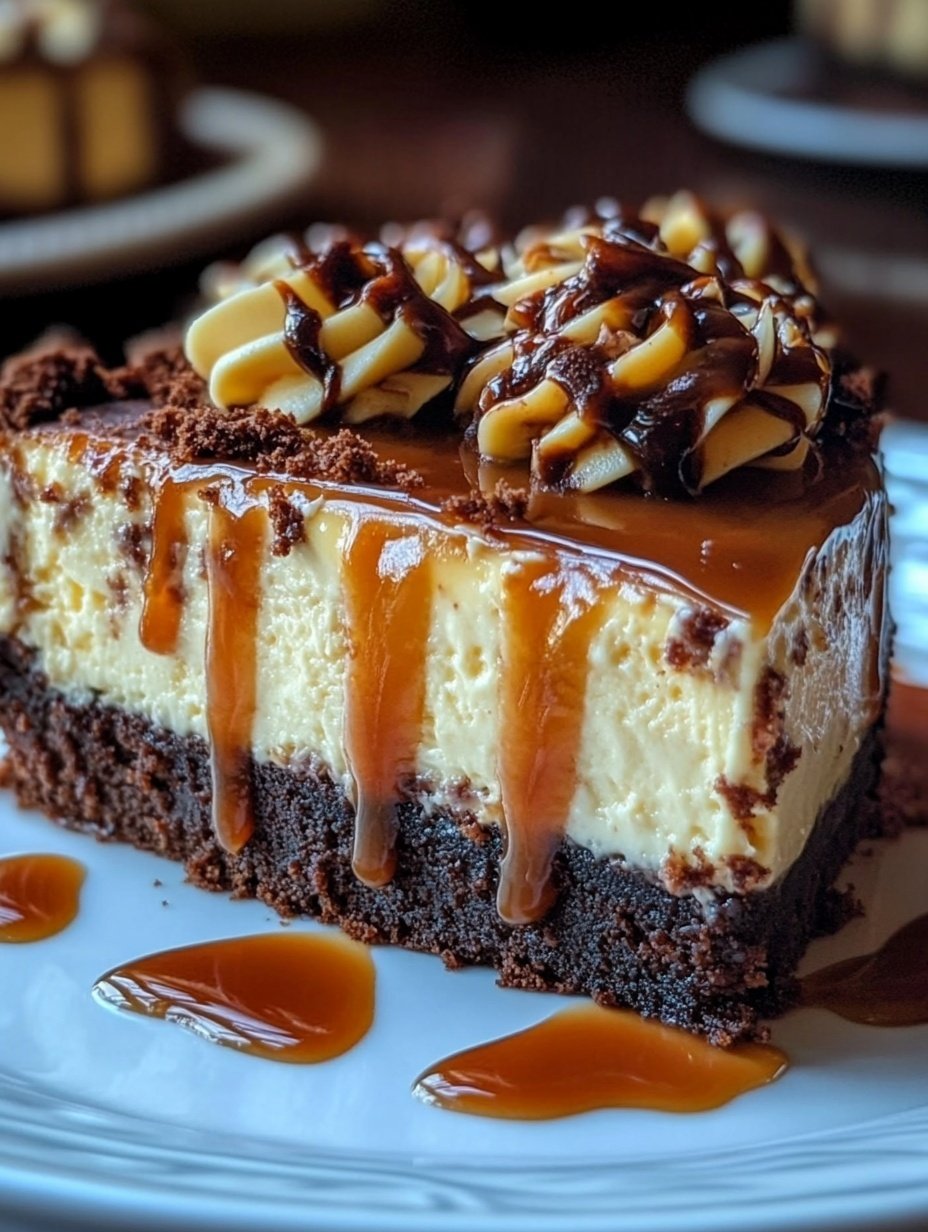
This Caramel Brownie Cheesecake combines a rich fudgy brownie base with creamy cheesecake and a glossy caramel topping. It is an indulgent dessert that looks impressive yet is simple to prepare with basic ingredients.
- Prep Time: 25
- Cook Time: 1 hour
- Total Time: 1 hour 25 minutes
- Yield: 12 1x
Ingredients
- 1 box brownie mix (or 3 cups homemade brownie batter)
- 3 packages cream cheese (8 oz each), softened
- 1 cup granulated sugar
- 3 large eggs
- 1 teaspoon vanilla extract
- 1 cup sour cream (or plain Greek yogurt)
- 1 cup caramel sauce, plus extra for drizzling
- Optional: ½ cup chopped nuts or chocolate chips
Instructions
- Preheat the oven to 350°F (175°C). Grease a 9-inch springform pan and line the bottom with parchment paper.
- Prepare the brownie batter according to package or recipe instructions. Pour into the pan and spread evenly. Bake until the center is just set. Remove and let it cool completely.
- Reduce oven temperature to 325°F (160°C). In a large bowl, beat cream cheese until smooth. Add sugar and beat until creamy.
- Add eggs one at a time, mixing on low speed after each addition. Stir in vanilla extract and sour cream until fully combined.
- Pour the cheesecake batter over the cooled brownie base. Smooth the top with a spatula. Tap the pan lightly on the counter to release air bubbles.
- Place the springform pan on a baking sheet and bake for 50–60 minutes, or until edges are set and the center jiggles slightly.
- Turn off the oven, crack the door open, and let the cheesecake cool inside for 1 hour. Transfer to the refrigerator and chill for at least 4 hours or overnight.
- Just before serving, drizzle caramel sauce over the top. Add chopped nuts or chocolate chips if desired. Slice and serve chilled.
Notes
Make sure the brownie base is fully cooled before pouring cheesecake batter on top.
Allow plenty of chilling time to achieve a firm, creamy texture.
For clean slices, run a sharp knife under hot water and wipe between cuts.
FAQs
Can I make this cheesecake ahead of time?
Yes, this cheesecake is perfect for making in advance. Since it needs to chill for several hours, I often bake it the night before serving. It actually tastes even better the next day when the flavors have blended fully.
Can I use homemade brownies instead of a mix?
Absolutely. While a boxed brownie mix works well for convenience, homemade brownies add a richer flavor and a personal touch. Just make sure the brownie base is fully cooled before adding the cheesecake layer.
What can I use instead of sour cream?
If you don’t have sour cream, you can replace it with plain Greek yogurt. It gives the same tangy flavor and creamy consistency while still balancing the richness of the cheesecake.
How do I prevent cracks in my cheesecake?
Cracks usually happen when the cheesecake cools too quickly. To avoid this, bake it at a lower temperature and let it cool gradually in the oven with the door slightly open. Chilling it slowly also helps keep the top smooth.
Can I freeze Caramel Brownie Cheesecake?
Yes, this cheesecake freezes well. Slice it into portions, wrap each piece tightly, and store in the freezer for up to two months. When ready to serve, thaw in the refrigerator overnight.