
There’s something deeply satisfying about making pizza dough from scratch. I remember the first time I pulled a golden, bubbly artisan crust from the oven—crispy on the outside, soft and chewy in the center, with those signature air pockets that make every bite irresistible. It wasn’t just a recipe; it was a revelation. Over time, I’ve tweaked and perfected this artisan pizza dough to achieve that perfect texture and flavor. This recipe has now become one of my absolute staples, and I love sharing it because it turns an ordinary pizza night into something unforgettable.
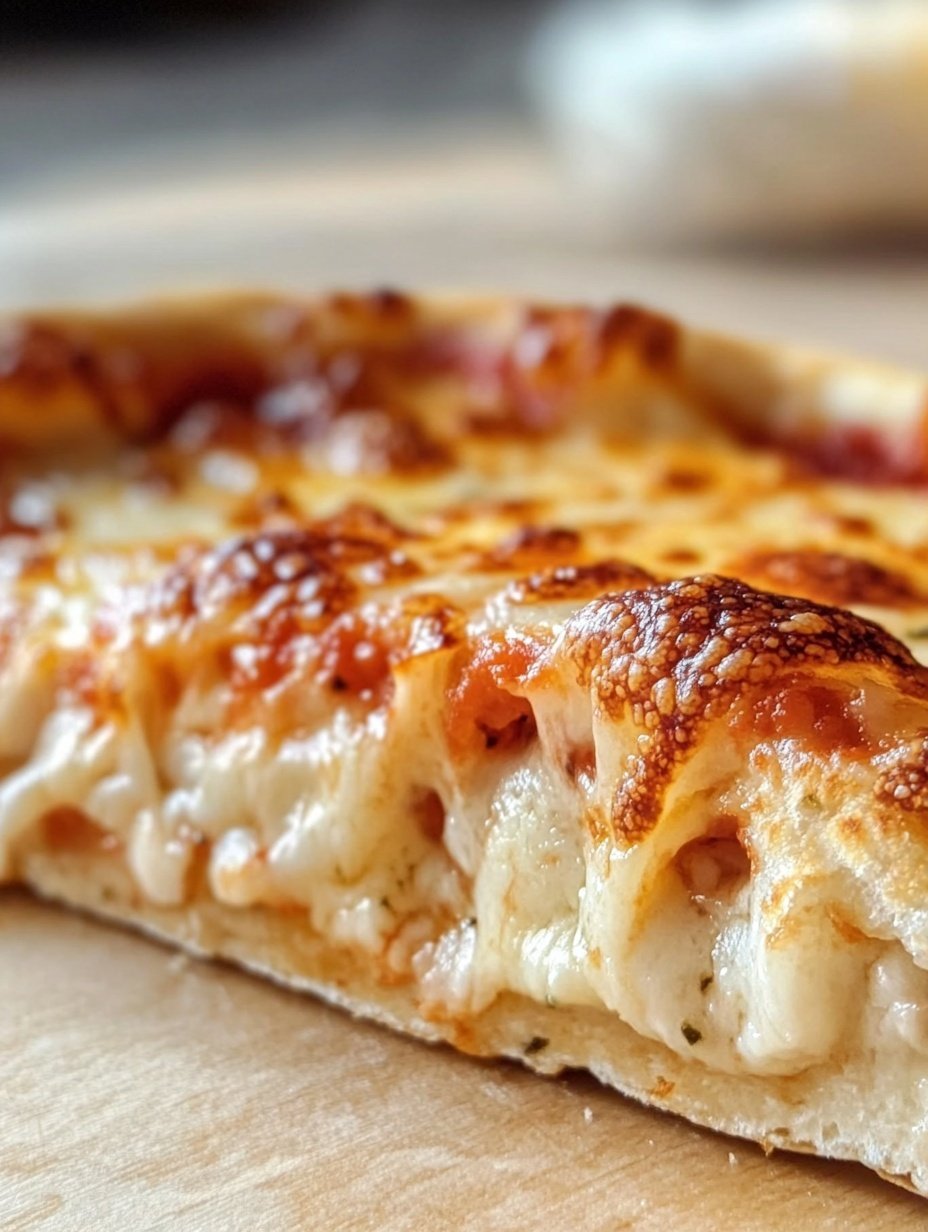
You’re going to love this recipe for so many reasons. First, the crust is everything a pizza lover dreams of—crispy edges, a chewy bite, and those light, airy bubbles that you only get from a well-developed dough. It’s a professional-style result straight from a home oven. Whether you’re feeding your family on a weeknight or entertaining friends over the weekend, this dough sets the stage for a pizza that looks and tastes like it came from a wood-fired pizzeria.
Another reason I love this recipe is its versatility. This artisan dough isn’t just for pizza; I’ve used it to make flatbreads, calzones, and even garlic knots. You can top it with a classic tomato sauce and mozzarella combo, or get creative with white sauces, roasted vegetables, or any meat of your choice. The dough becomes a blank canvas for whatever flavors you’re craving. It adapts to thin or thick crust preferences, so whether you like a crisp base or a softer, thicker style, this dough works beautifully.
From a cost standpoint, this recipe is incredibly affordable. It’s made with pantry staples—flour, water, yeast, salt, and olive oil—yet delivers restaurant-quality results. There’s no need for expensive takeout when you can craft a gourmet pizza at home for a fraction of the cost. It’s budget-friendly and impressive, a rare combination that makes this one a keeper.
Ingredients for the Recipe:
-
4 cups (500g) bread flour (plus extra for kneading)
-
1 ½ tsp salt
-
1 ½ tsp instant dry yeast
-
1 ½ cups (360ml) warm water (about 105°F/40°C)
-
2 tbsp olive oil (plus more for greasing)
-
Optional: 1 tsp sugar or honey (helps activate yeast and adds a slight sweetness)
How to Prepare This Recipe
Creating artisan pizza dough at home may sound intimidating at first, but it’s actually a simple process that becomes second nature once you’ve tried it a couple of times. This method is designed to be both quick and easy, with plenty of room for customization depending on your schedule, preferences, or toppings.
Step-by-Step Instructions for Preparation
1. Activate the yeast (if using sugar/honey):
In a large mixing bowl, combine the warm water and sugar or honey. Stir gently, then sprinkle the yeast over the surface. Let it sit for 5–10 minutes until foamy. (If you’re using instant yeast and skipping sugar, you can proceed directly to mixing.)
2. Mix the dough:
Add the bread flour and salt to the bowl. Pour in the olive oil. Mix everything together using a wooden spoon or your hands until a rough dough forms. At this stage, the dough will be slightly shaggy and sticky, but that’s completely normal.
3. Knead the dough:
Transfer the dough onto a lightly floured surface. Knead it for about 8–10 minutes, adding small amounts of flour as needed to keep it from sticking. The goal is to develop gluten, which gives the dough its chewy texture. You’ll know it’s ready when it feels smooth, elastic, and just slightly tacky.
4. First rise (bulk fermentation):
Place the dough in a large, lightly greased bowl. Cover it tightly with plastic wrap or a damp kitchen towel. Let it rise at room temperature for 1 to 2 hours, or until it doubles in size. For deeper flavor and an airier texture, you can refrigerate the dough for a slow cold fermentation (8 to 48 hours), which enhances the crust’s bubbles and chew.
5. Punch down and divide:
Once risen, gently punch the dough down to release air. Transfer it to a floured surface and divide it into 2 equal portions for two medium pizzas or keep it whole for a large one. If you’re not using all the dough right away, wrap the extra portion in plastic and refrigerate for up to 3 days or freeze for up to 3 months.
6. Shape the dough:
Form each portion into a tight ball and let it rest for 15–20 minutes, covered with a towel. This short rest helps the gluten relax, making the dough easier to stretch. Use your hands or a rolling pin to stretch it into a circle, oval, or rectangle, depending on your pan or stone.
7. Preheat your oven and prepare your baking surface:
Place a pizza stone or baking steel in your oven and preheat it to the highest temperature possible (usually around 500°F/260°C). Let it heat for at least 30 minutes. If you don’t have a stone, use an inverted baking sheet or a cast iron skillet for excellent results.
8. Top your pizza:
Transfer the stretched dough to a piece of parchment paper or a pizza peel dusted with flour or cornmeal. Add your sauce, cheese, and toppings of choice. Be careful not to overload it, as too many toppings can weigh down the crust.
9. Bake:
Slide the pizza onto the preheated stone or pan. Bake for 8–12 minutes or until the crust is puffed and golden with darkened spots on the edges. The cheese should be bubbling and slightly browned.
10. Rest and serve:
Remove the pizza from the oven and let it rest for 2–3 minutes before slicing. This allows the cheese to settle and makes cutting easier.
Customizable for Every Taste
What makes this recipe truly customizable is how easily it adapts to your needs. Prefer whole wheat flour? Substitute up to half of the bread flour with whole wheat. Want to add flavor? Mix in garlic powder, Italian herbs, or a dash of chili flakes. Need a thicker crust? Let it rise in the pan for 30 minutes before baking. Thin and crispy? Stretch it thinner and bake directly after shaping.
This dough can even be par-baked for meal prepping—just bake the crust for 5–6 minutes without toppings, let it cool, then freeze. On busy nights, you’ll have a base ready to go!
Popular with Many People
I’ve made this artisan dough countless times for friends, family, and customers, and it always impresses. Whether you’re serving it with classic toppings or trying something bold and new, the crust consistently steals the show. It’s the kind of recipe that turns first-timers into lifelong pizza-makers. That’s why I always keep this dough in rotation—it’s dependable, crowd-pleasing, and downright delicious.
PrintArtisan pizza dough- crispy, chewy, bubbly crust

This artisan pizza dough recipe delivers a crispy, chewy, and bubbly crust that is perfect for homemade pizzas. Made with simple ingredients and minimal effort, it’s ideal for anyone who wants pizzeria-quality pizza at home. The dough can be prepared quickly or fermented slowly for enhanced flavor and texture.
- Prep Time: 20
- Cook Time: 12
- Total Time: 32 minutes
- Yield: 2 1x
Ingredients
- 4 cups (500g) bread flour (plus extra for kneading)
- 1 ½ tsp salt
- 1 ½ tsp instant dry yeast
- 1 ½ cups (360ml) warm water (about 105°F/40°C)
- 2 tbsp olive oil (plus more for greasing)
- Optional: 1 tsp sugar or honey
Instructions
- In a large bowl, combine warm water and sugar/honey (if using). Sprinkle yeast on top and let it foam for 5–10 minutes.
- Add bread flour, salt, and olive oil. Mix until a rough dough forms.
- Transfer dough to a floured surface and knead for 8–10 minutes until smooth and elastic.
- Place dough in a greased bowl, cover, and let rise for 1–2 hours at room temperature or refrigerate for 8–48 hours for cold fermentation.
- Punch down the dough, divide into portions, and form into balls. Let rest 15–20 minutes.
- Stretch dough to desired shape and thickness.
- Preheat oven to highest temperature with pizza stone or baking surface inside.
- Add toppings and bake on the preheated surface for 8–12 minutes until crust is golden and bubbly.
- Let pizza rest 2–3 minutes before slicing and serving.
Notes
For a chewier crust, use bread flour. All-purpose flour can be substituted but may yield a softer crust.
Cold fermentation enhances flavor and texture.
Avoid overloading toppings to maintain crispness.
Dough can be frozen after first rise for convenience.
Adjust hydration slightly if dough feels too sticky or dry.
FAQs
Can I make this dough ahead of time?
Yes, absolutely. This dough actually develops better flavor when made ahead. After kneading, place it in the fridge for 8 to 48 hours for cold fermentation. Just bring it to room temperature for 1 hour before shaping and baking.
Can I freeze the dough?
Yes, the dough freezes beautifully. After the first rise, divide it into portions, wrap each tightly in plastic wrap, and place them in freezer bags. Freeze for up to 3 months. When ready to use, thaw in the fridge overnight and let it come to room temperature before shaping.
What flour works best?
Bread flour is preferred for the chewy texture and crisp finish, but all-purpose flour works if needed. For a healthier twist, use half whole wheat and half bread flour.
Do I need a pizza stone?
No, but it helps! A pizza stone or steel gives the crust that pizzeria-style texture. If you don’t have one, a preheated inverted baking sheet or cast iron skillet is a great alternative.
Why is my dough not rising?
Check your yeast’s expiration date and ensure your water isn’t too hot. Yeast becomes inactive above 130°F (54°C), and cold environments slow fermentation.