
I remember the first time I made these Healthy Frozen Peanut Butter Greek Yogurt Bites. It was a hot summer afternoon, and I was craving something cold, creamy, and indulgent—but I didn’t want to derail my healthy eating goals. I had some Greek yogurt in the fridge, a jar of natural peanut butter on the counter, and a handful of chocolate chips waiting to be used. What started as an experiment turned into one of the most requested treats in my kitchen.
What makes these bites truly special is how they check every box. They’re cool and creamy, rich in flavor, and just the right size for snacking. Whether I’m prepping them as a quick grab-and-go treat or serving them as a fun dessert for the kids, they always disappear fast. You’ll love them for the same reasons I do: they’re simple to prepare, packed with protein, and feel like a little dessert reward—without the guilt.
These bites are incredibly versatile. You can swap out the peanut butter for almond butter, top them with fruit, or add a sprinkle of granola. I’ve even added chopped nuts or a drizzle of melted dark chocolate on occasion. They’re also perfect for meal prep—just make a batch, freeze them, and enjoy them all week long.
Plus, they’re very affordable. The ingredients are pantry staples in many homes, and even if you need to pick something up at the store, it won’t break the bank. You don’t need any fancy tools, just a mixing bowl and a mini muffin tin or small silicone mold. They store beautifully in the freezer and offer a healthy way to curb sweet cravings.
Ingredients for the Recipe:
-
1 cup plain Greek yogurt (preferably full fat for creaminess)
-
½ cup natural peanut butter (smooth or crunchy)
-
2 tablespoons honey or maple syrup (optional, for extra sweetness)
-
¼ cup mini chocolate chips (optional, for topping or mixing in)
-
½ teaspoon vanilla extract
-
A pinch of sea salt
How to Prepare Healthy Frozen Peanut Butter Greek Yogurt Bites
Making these frozen Greek yogurt bites is one of the easiest recipes in my kitchen. The process is quick, the cleanup is minimal, and the results are consistently satisfying. It’s a no-bake recipe, which makes it ideal when the weather is warm or when you want something fuss-free. I love how convenient it is—no oven, no stovetop, just a few wholesome ingredients and a freezer.
Step-by-Step Instructions for Preparation
-
Prepare your workspace
First, gather your ingredients and a silicone mini muffin mold or small paper liners. I prefer silicone because it makes removing the bites much easier after freezing. -
Mix the yogurt base
In a medium mixing bowl, add the Greek yogurt, natural peanut butter, vanilla extract, and honey or maple syrup if using. Stir the mixture until it’s completely smooth and creamy. You’ll want the texture to be well-blended, with the peanut butter fully incorporated into the yogurt. This base is the heart of the recipe and sets the tone for the entire flavor. -
Taste and adjust
Before you go further, take a quick taste. If you prefer a sweeter flavor, feel free to add a touch more honey or maple syrup. If you want more peanut butter intensity, add an extra spoonful. It’s highly customizable, which I really appreciate. -
Spoon into molds
Once the base is ready, spoon the mixture evenly into your molds. Fill each cavity to the top for generous bites. You can use the back of a spoon or a small spatula to smooth the tops. -
Add toppings (optional)
If you want to add a little extra texture or flavor, sprinkle some mini chocolate chips over the top of each bite. You can also use chopped nuts, a few oats, or a light dusting of cinnamon depending on your taste. -
Freeze until firm
Place the mold in the freezer and let it set for at least 2–3 hours, or until the bites are fully frozen. I usually make them in the evening so they’re ready by morning. -
Remove and store
Once frozen solid, pop the bites out of the molds and transfer them to an airtight container or freezer bag. Store them in the freezer for up to two weeks. They’re ready to eat straight from the freezer—no thawing needed!
Quick and Easy
This recipe is wonderfully fast. The prep takes only about 10 minutes, and there’s no cooking involved. Because there are no tricky techniques or unusual tools, it’s also a great one to make with kids. They’ll enjoy helping scoop and decorate each bite.
Customizable
One of the best things about these Greek yogurt bites is how flexible they are. You can:
-
Use almond or cashew butter instead of peanut butter
-
Add mashed bananas to the mix
-
Stir in shredded coconut or finely chopped dates
-
Make them dairy-free with coconut yogurt
The combinations are endless, so you’ll never get bored.
Popular with Many People
Whenever I bring these to a picnic, brunch, or potluck, they’re always one of the first treats to go. They appeal to kids and adults alike, especially those who want a healthy snack that tastes like a dessert. They’re also gluten-free and can easily be made dairy-free or nut-free depending on dietary needs.
These bites are more than just a treat—they’re a go-to solution for busy days, healthy cravings, and sharing something wholesome and delightful with others. Whether you’re packing a few in your lunch or enjoying one after a workout, they hit the spot every time.
PrintHealthy Frozen Peanut Butter Greek Yogurt Bites

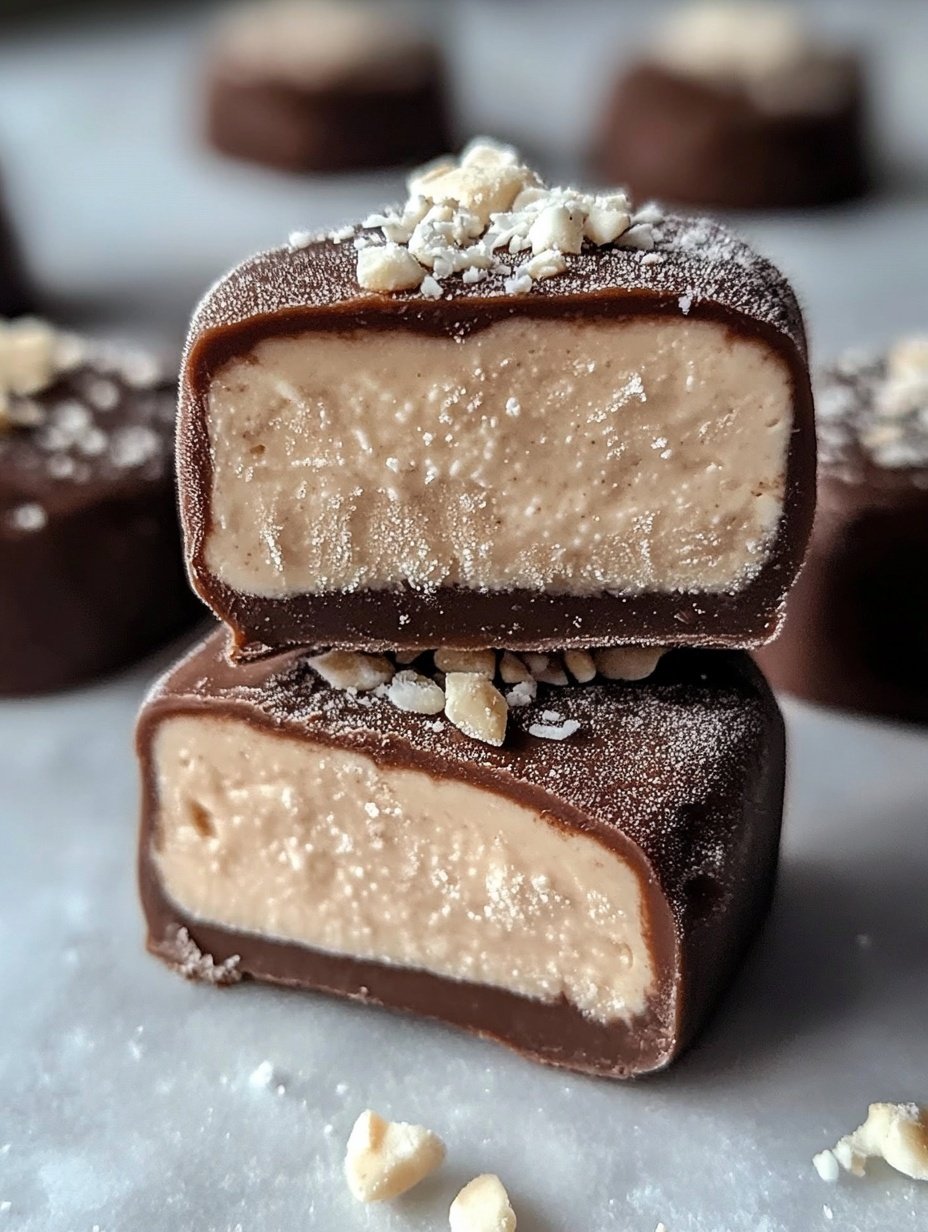
These Healthy Frozen Peanut Butter Greek Yogurt Bites are the perfect cold snack for warm days or busy afternoons. Creamy, protein-packed, and naturally sweetened, they’re made with simple ingredients and come together in just a few minutes. With their smooth texture and nutty flavor, they’re both satisfying and energizing. Whether enjoyed post-workout, as a dessert, or a midday treat, these frozen bites are a must-have in any healthy snack rotation.
- Prep Time: 10
- Cook Time: None
- Total Time: 0 hours
- Yield: 14 1x
Ingredients
- 1 cup plain Greek yogurt (full-fat recommended for creaminess)
- ½ cup natural peanut butter (smooth or crunchy)
- 2 tablespoons honey or maple syrup (optional)
- ½ teaspoon vanilla extract
- A pinch of sea salt
- ¼ cup mini chocolate chips (optional, for topping)
Instructions
- Gather all your ingredients and prepare a mini silicone muffin mold or line a mini muffin tin with paper liners.
- In a mixing bowl, combine Greek yogurt, peanut butter, vanilla extract, and honey or maple syrup (if using).
- Stir until the mixture is completely smooth, with no lumps of peanut butter remaining.
- Taste the mixture and adjust the sweetness or peanut butter level as needed.
- Spoon the yogurt mixture evenly into the molds, filling each cavity to the top.
- Use the back of a spoon to level and smooth the tops.
- Sprinkle chocolate chips or your preferred topping over each portion.
- Transfer the mold to the freezer and freeze for 2–3 hours or until the bites are completely solid.
- Once frozen, remove the bites from the mold and place them in an airtight container.
- Store in the freezer and enjoy straight out of the freezer whenever needed.
Notes
For easier removal, always use a silicone mold or lightly grease paper liners before adding the mixture.
These bites can be made dairy-free by using coconut yogurt.
To make them nut-free, replace peanut butter with sunflower seed butter.
You can mix in extras like chopped fruit, oats, or crushed granola for variety.
Bites can be enjoyed immediately from the freezer—no need to thaw.
FAQs
Can I use flavored Greek yogurt instead of plain?
Yes, you can. However, using plain Greek yogurt gives you control over the sweetness and lets the peanut butter flavor shine. If you use flavored yogurt, be sure to adjust or reduce the added sweetener so the bites don’t become too sugary.
How long do these yogurt bites last in the freezer?
They last up to two weeks when stored properly in an airtight container. Just keep them frozen until you’re ready to eat, and take out only what you need. They stay firm and creamy without turning icy if stored correctly.
Can I make these bites nut-free?
Absolutely. You can substitute sunflower seed butter or tahini for the peanut butter to make them nut-free. Both options work well and still give a rich, creamy taste with a slightly different flavor profile.
Do I need a silicone mold?
While silicone molds work best for easy removal, you can also use mini paper cupcake liners in a muffin tin. Once the bites are frozen, peel off the paper carefully. You can even use small freezer-safe containers if that’s what you have on hand.
Can kids eat these?
Yes, these are a great kid-friendly snack! Just be mindful of potential nut allergies. They’re full of protein and have just the right amount of sweetness to satisfy without being overly sugary. My own kids love them straight from the freezer.