
When I first created these No Bake Buckeye Graham Crackers, I was searching for a sweet treat that didn’t require me to turn on the oven. As much as I love baking, there are times when the kitchen gets too warm, or I simply want something fast and effortless. This recipe was born from those moments, and over time it became one of my favorite go-to desserts. It combines the nostalgic crunch of graham crackers with the classic chocolate-peanut butter pairing that reminds me of traditional buckeye candies. Every bite is creamy, crunchy, and coated in just the right amount of chocolate.
I love how simple this recipe is. There’s no need for complicated equipment or hours of preparation. In fact, you can put it together in less than 20 minutes and let the fridge do the rest of the work. It’s the kind of recipe that feels homemade yet doesn’t overwhelm you with effort. When I make these, I often think about how many childhood desserts were created from quick and easy ideas, and this one perfectly captures that spirit.
Why You Will Love This Recipe
You’ll fall in love with these No Bake Buckeye Graham Crackers because they strike the perfect balance between convenience and indulgence. They’re soft, sweet, and chocolatey, with a peanut butter filling that feels smooth and rich without being overly heavy. They’re great for sharing with friends, packing in lunchboxes, or serving as a late-night snack when cravings strike.
Another reason to love this recipe is how forgiving it is. You don’t need to worry about baking times or oven temperatures. You can make as many or as few as you like, depending on how many graham crackers you have on hand. Plus, they’re freezer-friendly, which means you can prepare a batch in advance and always have a sweet treat waiting.
Versatile
What I especially appreciate about this recipe is its versatility. While the classic version uses peanut butter, you can substitute it with almond butter, sunflower seed butter, or even cookie butter if you want a nut-free option. The chocolate coating can be dark, milk, or white depending on your personal preference. You can also decorate them with sprinkles, sea salt, or even a drizzle of caramel to fit the occasion. They work just as well for holiday platters as they do for everyday snacking.
Affordable
Another advantage of making these is how affordable they are. The recipe uses everyday ingredients that you probably already have in your pantry: graham crackers, peanut butter, powdered sugar, and chocolate. There’s nothing fancy or expensive involved, yet the result looks and tastes like something you’d find in a bakery display case. For families or anyone on a budget, this recipe delivers maximum flavor with minimal cost.
Ingredients for the Recipe
-
Graham crackers
-
Creamy peanut butter
-
Powdered sugar
-
Vanilla extract
-
Semi-sweet or milk chocolate chips
-
Butter
How to Prepare This Recipe
Making No Bake Buckeye Graham Crackers is as straightforward as it gets. The beauty of this recipe lies in the fact that you don’t need to preheat an oven or measure out a long list of ingredients. Instead, you combine simple pantry staples, spread them neatly, dip them into chocolate, and allow them to chill until firm. Within an hour, you’ll have a batch of indulgent treats ready to enjoy.
These crackers are essentially layered with a sweet peanut butter filling that reminds me of the smooth centers found in classic buckeye candies. Once coated in melted chocolate, they transform into bite-sized desserts that can please just about anyone. Whether you’re making them for a family gathering, school bake sale, or just to satisfy your own sweet tooth, this recipe works every time.
Step-by-Step Instructions for Preparation
Step 1: Prepare the peanut butter filling
In a mixing bowl, combine creamy peanut butter, softened butter, powdered sugar, and a touch of vanilla extract. Stir until smooth and thick. The mixture should be easy to spread but not runny. If it feels too stiff, add a teaspoon of milk to loosen it slightly.
Step 2: Assemble the graham cracker sandwiches
Take a full sheet of graham crackers and carefully break it into halves or squares. Spread a generous layer of the peanut butter filling over one half, then top it with another piece of graham cracker to create a sandwich. Continue until all the filling is used. Place the sandwiches on a tray lined with parchment paper.
Step 3: Chill before dipping
Transfer the tray to the refrigerator for at least 15 minutes. This step is important because it allows the filling to firm up, making the sandwiches easier to dip into melted chocolate later.
Step 4: Melt the chocolate
In a microwave-safe bowl, melt semi-sweet or milk chocolate chips with a small amount of butter. Heat in short intervals, stirring frequently to avoid burning. The butter gives the chocolate a smooth, glossy finish that coats the crackers beautifully.
Step 5: Dip the graham crackers
Once the filling is firm, remove the tray from the fridge. Dip each graham cracker sandwich halfway into the melted chocolate, leaving part of the cracker exposed for contrast. You can also choose to fully coat them in chocolate if you prefer. Shake off any excess chocolate and place the dipped crackers back on the parchment-lined tray.
Step 6: Let the chocolate set
Refrigerate the dipped crackers for another 20 minutes, or until the chocolate is completely hardened. Once set, transfer them to an airtight container. They will keep well in the fridge for up to a week or in the freezer for several months.
Quick and Easy
One of the best aspects of this recipe is how quickly it comes together. The actual hands-on time is less than 20 minutes, and the rest is just waiting for the chocolate to set. There’s no special equipment needed, just a bowl, spoon, tray, and microwave. It’s perfect for moments when you need a last-minute dessert but don’t want to spend hours in the kitchen.
Customizable
This recipe is endlessly adaptable. You can swap out peanut butter for almond butter, cashew butter, or even sunflower seed butter if you’re preparing a nut-free version. The chocolate coating can be changed to match your taste — dark chocolate for a richer flavor, white chocolate for a sweeter touch, or a drizzle of both for an elegant look. Adding toppings such as crushed nuts, shredded coconut, or sprinkles can make the crackers look festive and unique.
For those who enjoy a little texture, mixing rice cereal or finely crushed pretzels into the filling adds crunch. You can even flavor the peanut butter layer with cinnamon, cocoa powder, or a hint of espresso for something different. Each variation gives you the freedom to create a snack tailored to your preference.
Popular with Many People
It’s no surprise that these No Bake Buckeye Graham Crackers have become a hit with family and friends. They appeal to both kids and adults because they’re sweet, crunchy, and satisfying without being too heavy. I’ve served them at holiday gatherings, birthday parties, and casual coffee breaks, and they’re always one of the first desserts to disappear.
Their popularity also lies in their portion size. Because they’re made from graham crackers, they’re easy to cut or break into smaller pieces. That makes them perfect for sharing, whether you’re setting out a dessert platter or wrapping them as homemade gifts.
PrintNo Bake Buckeye Graham Crackers

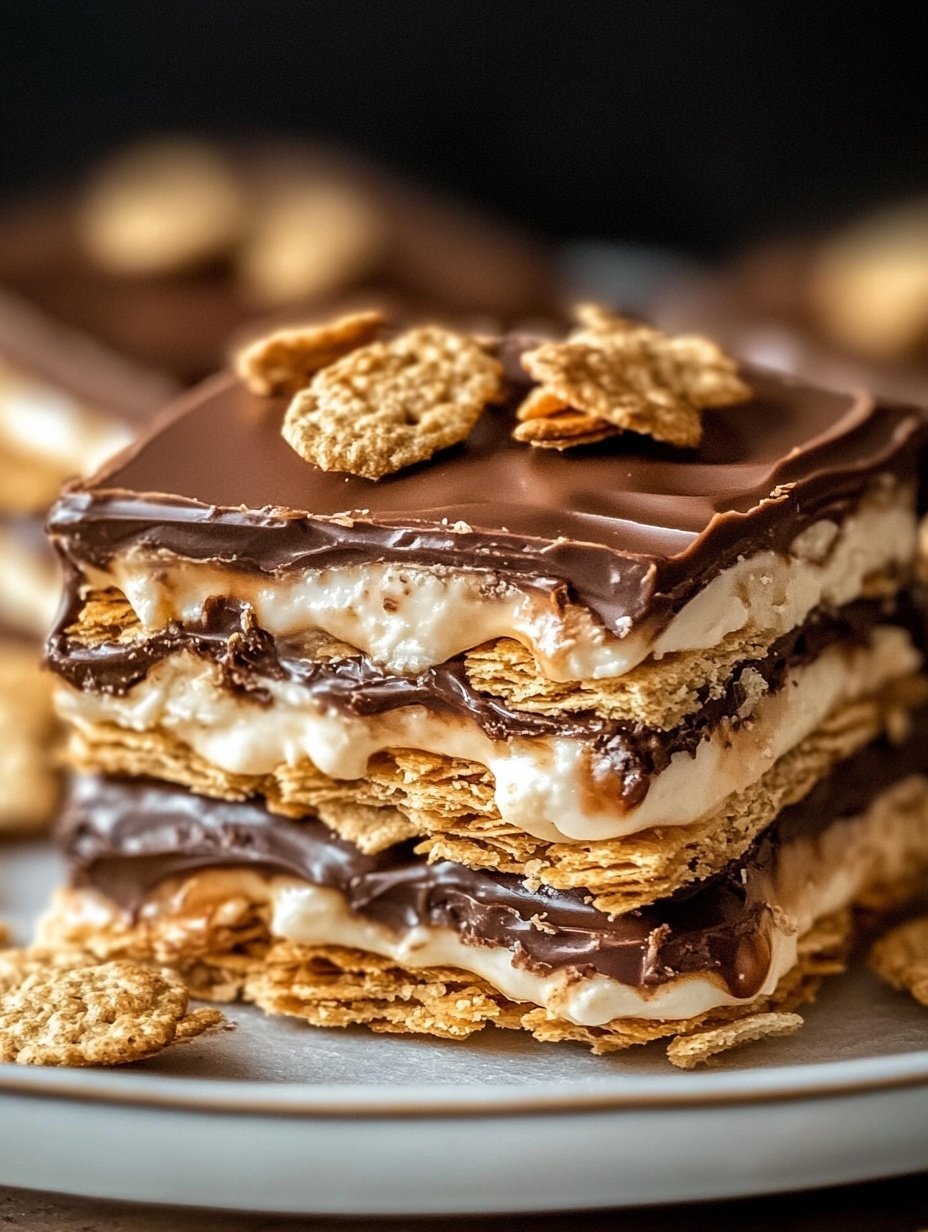
These No Bake Buckeye Graham Crackers are a quick, no-fuss dessert that combines creamy peanut butter filling with crisp graham crackers and a smooth chocolate coating. They are simple to prepare, budget-friendly, and ideal for holidays, gatherings, or everyday snacking.
- Prep Time: 20
- Total Time: 20 minutes
- Yield: 24 1x
Ingredients
- 12 full sheets graham crackers (broken into halves)
- 1 cup creamy peanut butter
- 4 tablespoons unsalted butter, softened
- 2 cups powdered sugar
- 1 teaspoon vanilla extract
- 2 cups semi-sweet or milk chocolate chips
- 2 tablespoons unsalted butter (for melting with chocolate)
Instructions
- In a medium bowl, mix creamy peanut butter, softened butter, powdered sugar, and vanilla extract until smooth and spreadable.
- Break graham cracker sheets into halves or squares.
- Spread a thick layer of the peanut butter mixture over one graham cracker half, then top with another piece to form a sandwich. Repeat until all filling is used.
- Place the sandwiches on a parchment-lined tray and refrigerate for 15 minutes to firm up.
- In a microwave-safe bowl, melt chocolate chips with butter in short intervals, stirring until smooth.
- Dip each chilled graham cracker sandwich halfway into the melted chocolate (or coat fully if desired). Shake off any excess.
- Return the dipped crackers to the parchment-lined tray.
- Refrigerate for another 20 minutes, or until the chocolate is completely set.
- Store in an airtight container in the refrigerator or freezer until ready to serve.
Notes
Substitute peanut butter with almond butter, cashew butter, or sunflower seed butter for variety.
Use dark, milk, or white chocolate depending on preference.
Add toppings like sprinkles, sea salt, or crushed nuts before the chocolate sets.
Ensure crackers are chilled, not frozen, before dipping to avoid chocolate cracking.
FAQs
Can I make these ahead of time?
Yes, these No Bake Buckeye Graham Crackers are perfect for preparing in advance. You can store them in the refrigerator for up to one week, or freeze them for up to three months. If frozen, let them sit at room temperature for 10–15 minutes before serving.
Can I use a different nut butter?
Absolutely. While peanut butter is the classic choice, almond butter, cashew butter, or sunflower seed butter work just as well. This makes it easy to adjust the recipe for allergies or personal preferences.
Do I have to dip them in chocolate?
Dipping is traditional, but not mandatory. You can drizzle chocolate over the top, coat just the edges, or even skip the chocolate if you prefer a lighter version. The recipe is flexible, and the flavor is still delicious without a full chocolate coating.
How can I keep the chocolate from cracking?
Make sure the graham cracker sandwiches are chilled but not frozen before dipping. If they are too cold, the chocolate may set too quickly and crack. Adding a small amount of butter to the melted chocolate also helps create a smoother coating.
Are these safe for lunchboxes?
Yes, they make an excellent lunchbox treat. Just be sure to keep them cool in warmer weather to prevent the chocolate from melting.