
I have always loved experimenting in the kitchen, turning classic desserts into fun, handheld treats. Recently, I created a recipe that has quickly become a favorite in my household: Berrylicious Cheesecake Tacos. The idea came to me one afternoon while enjoying a traditional cheesecake slice and thinking how incredible it would be to combine the creamy, tangy goodness of cheesecake with the playful form of a taco. I wanted something that could be served at parties, casual gatherings, or even as a delightful snack during a quiet evening at home. The result was this unique dessert that brings together the richness of cheesecake, the sweetness of fresh berries, and the crunch of a crisp taco shell.
You will love this recipe because it is not only indulgent but also fun and easy to make. Each bite offers a perfect balance of flavors—the smooth, creamy cheesecake filling contrasts beautifully with the tartness of berries and the slight crisp of the taco shell. Unlike traditional desserts that require utensils and plates, these cheesecake tacos are portable, making them ideal for serving at picnics, family get-togethers, or as a charming dessert at parties. They are sure to impress anyone who tries them, whether young or old.
Another great thing about this recipe is its versatility. You can mix and match berries based on what is in season or what you enjoy the most. Blueberries, raspberries, blackberries, or strawberries can be combined to create a vibrant and colorful filling. You can even add a drizzle of chocolate, a sprinkle of crushed nuts, or a touch of lemon zest for a personalized twist that fits your taste perfectly.
This dessert is also surprisingly affordable. The ingredients are simple and easy to find, yet they come together to create a treat that looks and tastes gourmet. With cream cheese, powdered sugar, fresh berries, vanilla extract, and taco shells as the main ingredients, you can make a batch that serves several people without breaking the bank.
Ingredients for Berrylicious Cheesecake Tacos:
-
8 small taco shells
-
16 oz cream cheese, softened
-
½ cup powdered sugar
-
1 tsp vanilla extract
-
1 cup mixed fresh berries (strawberries, blueberries, raspberries)
-
Optional toppings: chocolate drizzle, crushed nuts, lemon zest
How to Prepare Berrylicious Cheesecake Tacos
Preparing Berrylicious Cheesecake Tacos is easier than you might think, and it’s a fun recipe to make, whether you’re a seasoned baker or just starting out. The key is to prepare each component carefully and then assemble the tacos with attention to detail. This ensures every bite is creamy, fruity, and crunchy.
Step-by-Step Instructions
Step 1: Prepare the Cheesecake Filling
Start by placing the softened cream cheese into a large mixing bowl. Using a hand mixer or stand mixer, beat the cream cheese on medium speed until it becomes smooth and fluffy. Gradually add the powdered sugar, one tablespoon at a time, while continuing to mix. This ensures a perfectly smooth texture without lumps. Once all the sugar is incorporated, add the vanilla extract and beat again until the filling is creamy and uniform in consistency. Set the mixture aside while you prepare the berries.
Step 2: Wash and Prepare the Berries
Rinse all the berries under cold running water. Pat them dry with a clean kitchen towel or paper towels. If you are using strawberries, remove the stems and cut them into small, bite-sized pieces. Blueberries and raspberries can be left whole. Mixing the berries together in a bowl ensures that every taco will have a colorful and flavorful filling.
Step 3: Prepare the Taco Shells
If your taco shells are store-bought and crispy, you can use them as they are. For a homemade touch, lightly toast the shells in the oven at 350°F (175°C) for 3-5 minutes until they are warm and slightly crisp. This step enhances the texture and helps prevent the shells from becoming soggy once the cheesecake filling is added.
Step 4: Assemble the Tacos
Using a spoon or a piping bag, fill each taco shell with the cheesecake mixture. Fill generously, but avoid overstuffing to prevent spilling. Next, top the cheesecake filling with a mix of berries, ensuring an even distribution of colors and flavors. You can also sprinkle optional toppings like crushed nuts, a drizzle of melted chocolate, or a light dusting of lemon zest for added flavor and visual appeal.
Step 5: Chill Before Serving
Place the assembled tacos on a tray lined with parchment paper. Cover lightly with plastic wrap and refrigerate for at least 30 minutes. Chilling allows the cheesecake filling to firm up slightly, making the tacos easier to handle and enhancing the flavors.
Step 6: Serve and Enjoy
Once chilled, your Berrylicious Cheesecake Tacos are ready to serve. Arrange them on a plate or dessert platter for an impressive presentation. They are perfect for parties, family gatherings, or as a special treat for yourself. Each bite delivers the creamy sweetness of cheesecake, the tang of fresh berries, and the crunch of a taco shell, creating a delightful combination that everyone will love.
Quick and Easy Tips
-
Make the filling a day ahead to save time.
-
Use seasonal berries for the freshest taste.
-
Customize toppings to suit your mood or occasion.
-
Store leftovers in an airtight container in the fridge for up to 2 days.
Why This Recipe Is Popular
Berrylicious Cheesecake Tacos are popular because they combine two favorite dessert experiences—tacos and cheesecake—into one portable, visually appealing treat. They are perfect for any occasion, versatile for different flavors, and simple enough to make quickly. Both kids and adults will enjoy the playful presentation and delicious taste, making it a guaranteed crowd-pleaser.
PrintBerrylicious Cheesecake Tacos

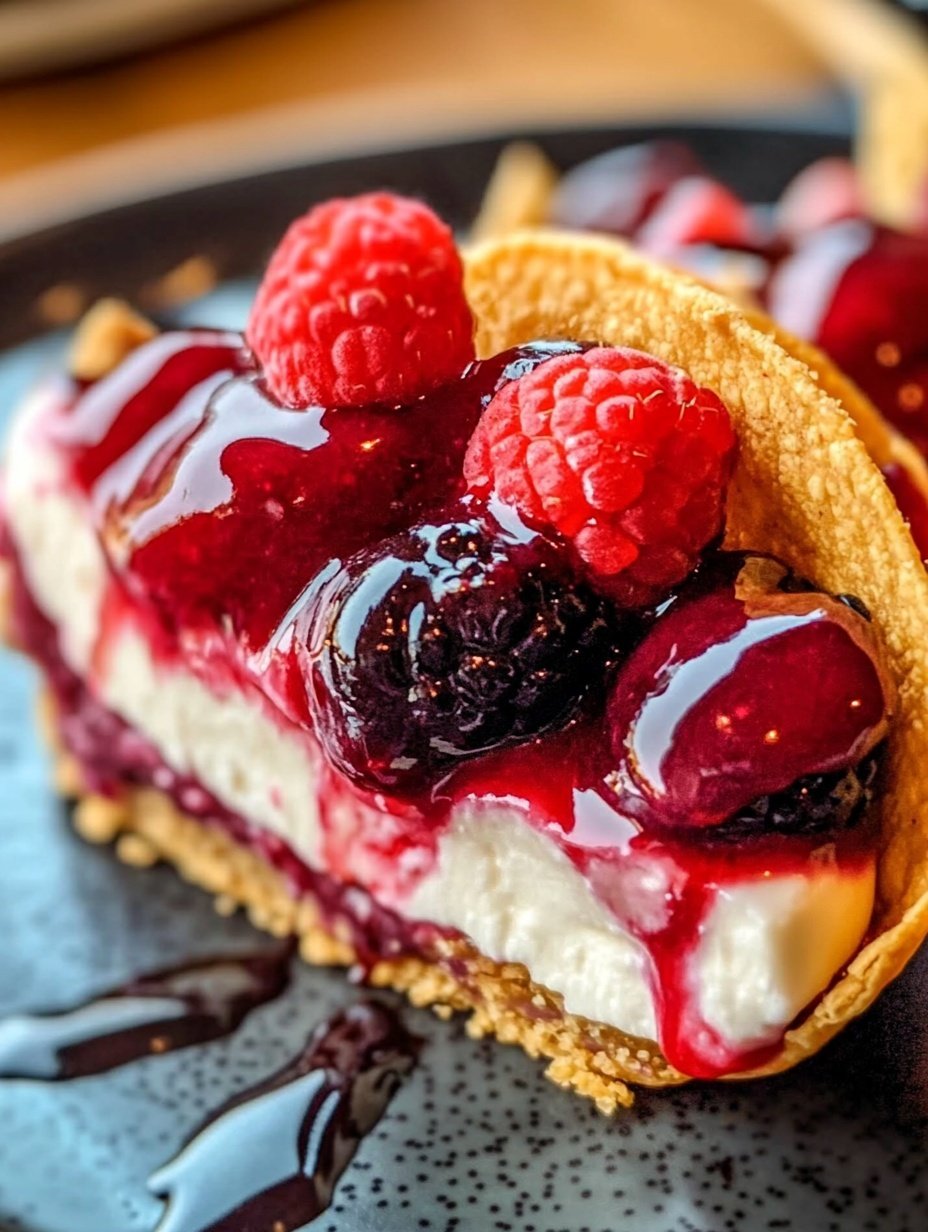
Berrylicious Cheesecake Tacos are a delightful twist on a classic cheesecake dessert. With crispy taco shells filled with creamy cheesecake filling and topped with fresh, colorful berries, this recipe is both fun and elegant. It’s simple to prepare, affordable, and perfect for gatherings, parties, or an indulgent treat at home.
- Prep Time: 20
- Cook Time: 5
- Total Time: 25 minutes
- Yield: 8 1x
Ingredients
- 8 small taco shells
- 16 oz cream cheese, softened
- ½ cup powdered sugar
- 1 tsp vanilla extract
- 1 cup mixed fresh berries (strawberries, blueberries, raspberries)
- Optional toppings: chocolate drizzle, crushed nuts, lemon zest
Instructions
- Place the softened cream cheese in a large mixing bowl. Beat with a hand or stand mixer until smooth and creamy.
- Gradually add the powdered sugar, mixing after each addition until fully incorporated.
- Add the vanilla extract and beat again until the cheesecake filling is light and fluffy.
- Rinse the berries under cold water. Pat dry with a kitchen towel. Slice strawberries into small pieces, leaving blueberries and raspberries whole.
- If desired, warm the taco shells in the oven at 350°F (175°C) for 3–5 minutes until slightly crisp.
- Spoon or pipe the cheesecake filling into each taco shell, filling generously without overstuffing.
- Top each taco with a mix of fresh berries for color and flavor.
- Add optional toppings such as a drizzle of chocolate, crushed nuts, or lemon zest.
- Place the tacos on a tray lined with parchment paper. Cover lightly with plastic wrap and refrigerate for at least 30 minutes before serving.
- Serve chilled and enjoy the creamy, fruity, and crunchy dessert.
Notes
Best enjoyed the same day for the crispiest shells.
If making ahead, store the filling and shells separately, then assemble just before serving.
Seasonal berries add freshness and variety.
FAQs
Can I make the cheesecake filling ahead of time?
Yes, you can prepare the cheesecake filling up to 24 hours in advance. Store it in an airtight container in the refrigerator until you’re ready to assemble the tacos. This makes the process quicker when you need to serve them.
What kind of taco shells work best?
Small, crispy taco shells work perfectly for this recipe. You can buy them ready-made or make your own by shaping tortillas into taco shells and baking them until crisp. The key is to keep them crunchy so they hold the creamy filling without breaking.
Can I use frozen berries instead of fresh?
Fresh berries are recommended for the best flavor and texture. Frozen berries release extra moisture when thawed, which can make the shells soggy. However, if frozen berries are your only option, thaw them completely and pat dry before using.
How long do these cheesecake tacos last?
They are best enjoyed within 24 hours, while the shells are still crunchy. If stored in the fridge, they can last up to 2 days, but the texture of the shells may soften over time.
Can I customize the toppings?
Absolutely! Try drizzling chocolate, caramel, or adding crushed nuts for extra flavor and crunch.