
I still remember the first time I made these Cheesy Garlic Butter Bombs. I was craving something warm, gooey, and utterly comforting to accompany a simple weeknight dinner. The moment I pulled them out of the oven, the aroma of roasted garlic and melted cheese filled the kitchen, instantly making it feel like a cozy bakery at home. I couldn’t resist taking a bite right away, and that first bite was pure magic—the soft, buttery dough giving way to an explosion of melted cheese and garlicky goodness. Since then, these little bites of heaven have become one of my go-to recipes whenever I want to impress friends or simply indulge myself in something irresistible.
You will love this recipe because it balances flavor, texture, and simplicity perfectly. The golden, buttery exterior pairs beautifully with the soft, cheesy center, while the garlic butter adds that extra layer of rich, savory indulgence. Each bite is soft, yet slightly crisp on the outside, making it hard to stop at just one. Whether you’re serving these as an appetizer, a side for pasta, or even as a snack for movie night, they never fail to delight.
What’s more, these Cheesy Garlic Butter Bombs are incredibly versatile. You can fill them with your favorite cheeses, add herbs for extra flavor, or even serve them alongside a hearty soup or salad. They also adapt well for gatherings, so you can easily double or triple the batch without worrying about losing quality.
Despite their indulgent taste, these cheesy bombs are surprisingly affordable to make. The main ingredients are pantry staples—flour, yeast, butter, garlic, and cheese. With just a few simple components, you can create something that tastes like it came from a gourmet bakery without spending a fortune.
Ingredients for Cheesy Garlic Butter Bombs:
-
2 ½ cups all-purpose flour
-
2 tsp instant yeast
-
1 tsp sugar
-
1 tsp salt
-
¾ cup warm water
-
3 tbsp unsalted butter, melted
-
1 ½ cups shredded cheese (cheddar, mozzarella, or a mix)
-
3 tbsp butter, softened (for garlic butter)
-
3 garlic cloves, minced
-
1 tbsp fresh parsley, chopped
These ingredients come together to create a snack that is flavorful, comforting, and utterly satisfying. From the rich, buttery dough to the molten cheesy center, each bite will remind you why homemade baked treats are so special.
How to Prepare Cheesy Garlic Butter Bombs
Preparing these Cheesy Garlic Butter Bombs is easier than you might think, and the results are absolutely worth it. With step-by-step instructions, you’ll be able to create golden, cheesy bites that are soft on the inside and slightly crisp on the outside, perfect for any occasion.
Step-by-Step Instructions:
-
Activate the yeast: In a small bowl, combine the warm water, sugar, and instant yeast. Stir gently and let it sit for 5–10 minutes until it becomes frothy. This ensures your dough will rise perfectly and stay soft.
-
Make the dough: In a large mixing bowl, combine the all-purpose flour and salt. Slowly pour in the yeast mixture and 3 tablespoons of melted butter. Stir until the dough starts coming together.
-
Knead the dough: Turn the dough onto a lightly floured surface and knead for 8–10 minutes until smooth and elastic. Alternatively, you can use a stand mixer with a dough hook for convenience.
-
First rise: Place the kneaded dough in a lightly greased bowl. Cover it with a damp cloth or plastic wrap and let it rise in a warm place for 1–1.5 hours, or until it doubles in size.
-
Prepare the garlic butter: While the dough is rising, mix the softened butter with minced garlic and chopped parsley. Set aside; this will be brushed over the dough later for maximum flavor.
-
Shape the dough balls: Once the dough has doubled, punch it down and divide it into equal pieces (about 12–16 portions depending on desired size). Flatten each piece into a small circle.
-
Fill with cheese: Place a generous amount of shredded cheese in the center of each dough circle. Carefully fold the edges over the cheese, pinching them together to seal and form a smooth ball.
-
Second rise: Arrange the filled dough balls on a greased baking sheet, leaving some space between each. Cover and let them rise for another 20–30 minutes to become fluffy.
-
Preheat the oven: Preheat your oven to 375°F (190°C).
-
Brush with garlic butter: Before baking, brush the tops of each dough ball with the prepared garlic butter mixture. Make sure to get some on the sides for extra flavor.
-
Bake: Place the baking sheet in the preheated oven and bake for 18–22 minutes, or until the tops are golden brown and the cheese is melted inside.
-
Serve hot: Remove from the oven and brush once more with garlic butter for an extra glossy finish. Let them cool for 5 minutes before serving so the cheese is perfectly gooey but not overly runny.
Quick and Easy Tips:
-
Use pre-shredded cheese for convenience, but fresh cheese works best for flavor.
-
Make the dough ahead of time and refrigerate for slow rising; this enhances the texture.
-
Customize by adding cooked turkey bacon or chicken ham inside the cheese for extra savoriness.
These Cheesy Garlic Butter Bombs are popular with kids and adults alike, making them perfect for family meals, parties, or a simple snack. Their golden exterior and gooey cheese center guarantee everyone will be asking for seconds.
PrintCheesy Garlic Butter Bombs: The Perfect Snack or Side

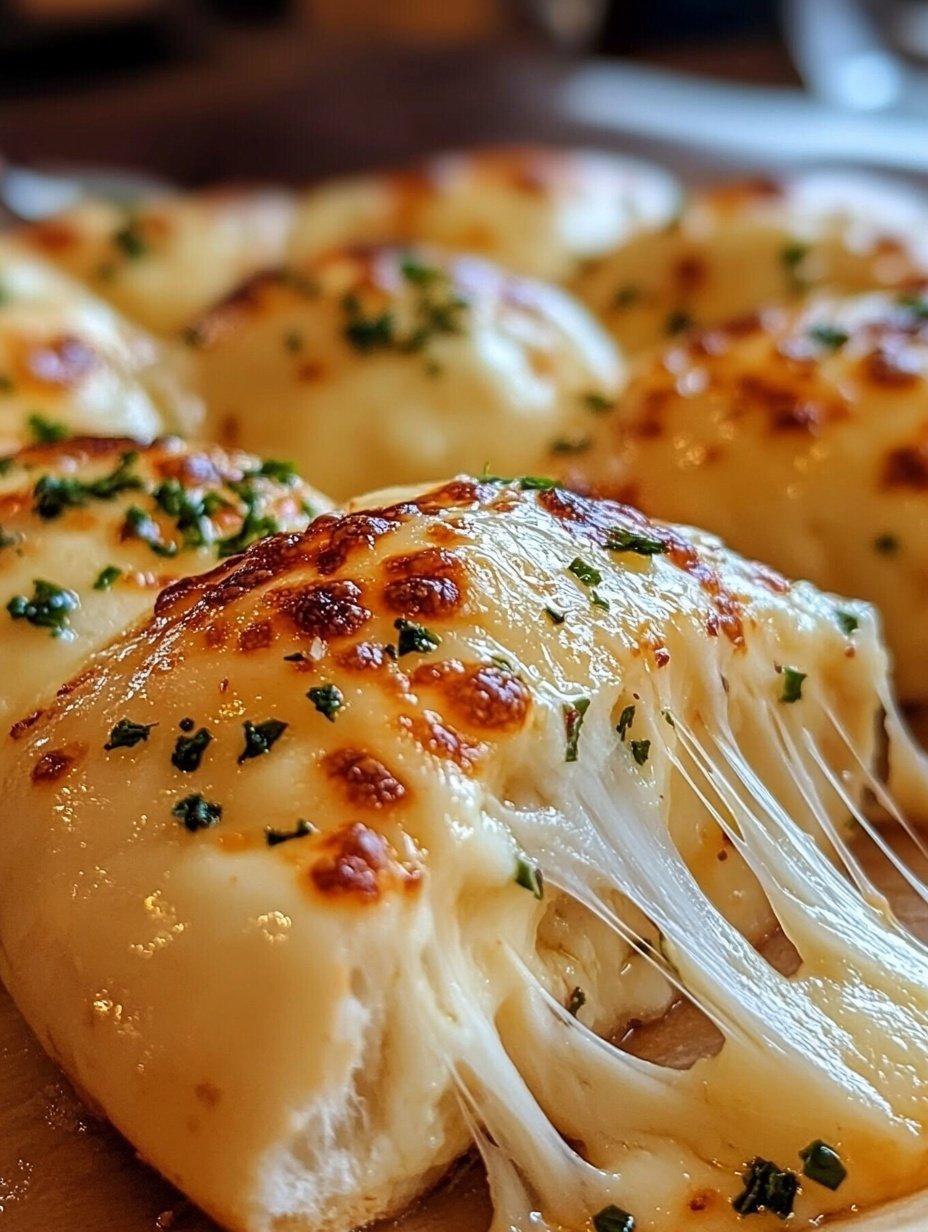
Cheesy Garlic Butter Bombs are soft, golden, and packed with gooey melted cheese, making them the perfect snack, side, or appetizer. Infused with garlic butter and customizable fillings like turkey bacon or chicken ham, they are irresistible for any occasion.
- Prep Time: 30
- Cook Time: 22
- Total Time: 52 minutes
- Yield: 16 1x
Ingredients
- 2 ½ cups all-purpose flour
- 2 tsp instant yeast
- 1 tsp sugar
- 1 tsp salt
- ¾ cup warm water
- 3 tbsp unsalted butter, melted
- 1 ½ cups shredded cheese (cheddar, mozzarella, or a mix)
- 3 tbsp butter, softened (for garlic butter)
- 3 garlic cloves, minced
- 1 tbsp fresh parsley, chopped
Instructions
- Activate the yeast: Combine warm water, sugar, and yeast in a small bowl. Let sit 5–10 minutes until frothy.
- Make the dough: Mix flour and salt in a large bowl. Add yeast mixture and melted butter. Stir until dough forms.
- Knead: Knead on a floured surface for 8–10 minutes until smooth and elastic.
- First rise: Place dough in a greased bowl, cover, and let rise 1–1.5 hours until doubled.
- Prepare garlic butter: Mix softened butter, minced garlic, and parsley. Set aside.
- Shape dough balls: Punch down dough, divide into 12–16 pieces, flatten each into a circle.
- Fill with cheese: Add shredded cheese to the center, fold edges over, and seal into smooth balls.
- Second rise: Arrange on a greased baking sheet, cover, and let rise 20–30 minutes.
- Preheat oven: Set oven to 375°F (190°C).
- Brush with garlic butter: Coat tops and sides of each dough ball.
- Bake: Bake 18–22 minutes until golden and cheese is melted.
- Serve: Brush again with garlic butter and cool 5 minutes before serving.
Notes
Optional fillings: cooked turkey bacon, chicken ham, or herbs.
Can refrigerate for 24 hours or freeze unbaked for future use.
Avoid overly wet fillings to prevent soggy dough.
FAQs – Cheesy Garlic Butter Bombs
1. Can I make these ahead of time?
Yes! You can prepare the dough and assemble the bombs, then refrigerate them for up to 24 hours before baking. Make sure to cover them tightly to prevent drying out.
2. Can I freeze them?
Absolutely. Place unbaked, filled dough balls on a baking sheet and freeze until solid. Transfer them to a freezer-safe bag. When ready to bake, thaw in the refrigerator overnight and bake as directed.
3. What cheeses work best?
A combination of mozzarella and cheddar provides the perfect stretch and flavor. You can also experiment with Monterey Jack or Colby for a milder taste.
4. Can I add extras inside?
Yes! You can include cooked turkey bacon, chicken ham, or herbs like rosemary or chives for extra flavor. Avoid overly wet fillings, as they may cause the dough to become soggy.
5. How can I make them extra garlicky?
Increase the amount of minced garlic in the butter mixture or brush some garlic butter inside the dough before sealing the cheese.
6. Are they suitable for kids?
Definitely. Their cheesy, buttery, and soft texture is very appealing to children, and you can adjust seasonings to keep them mild.
7. How should I serve them?
Serve warm straight from the oven. They pair beautifully with soups, salads, or as an appetizer at gatherings.