
Ever since I started baking professionally, I’ve been fascinated by how simple vegetables can transform into irresistible snacks. One afternoon, with a basket full of fresh zucchini and a curious craving for something crispy, this recipe came to life. I remember the sound of that first chip snapping between my fingers and the satisfaction of its golden crunch—it was perfect. That’s when I knew these Crispy Zucchini Chips deserved a spot on my recipe blog. They’ve become one of my favorite go-to savory snacks, especially when I want something light, healthy, and incredibly satisfying.
Why You Will Love This Recipe
You’re going to love how quick and easy these chips are to prepare. With just a few ingredients and minimal effort, you can turn humble zucchini slices into a crispy, oven-baked snack that feels gourmet. These chips are not only full of flavor, but they also have that perfect texture—light, airy, and delicately crisp.
They’re a fantastic way to enjoy vegetables in a fun and creative form. Whether you’re serving them at a gathering or packing them for a picnic, these zucchini chips will win hearts fast. You can dip them in sauces, sprinkle them with herbs, or enjoy them plain. And unlike deep-fried alternatives, these chips are baked, making them a healthier option for mindful snacking.
Versatile
This recipe adapts beautifully to your tastes. You can season the zucchini chips with paprika, garlic powder, onion flakes, or even a hint of grated parmesan cheese for a touch of nuttiness. They go well as a side dish, an appetizer, or even a light afternoon bite. They pair effortlessly with many meals, from grilled chicken to veggie burgers.
You can also experiment with different dipping sauces—try Greek yogurt-based dips, hummus, or homemade ranch. The chips themselves are neutral enough to carry a variety of flavor profiles, so feel free to get creative.
Affordable
One of the things I appreciate most about this recipe is how budget-friendly it is. Zucchini is often inexpensive, especially during peak season. You probably already have most of the other ingredients in your kitchen, which means you can whip up this snack without a trip to the store. It’s proof that delicious doesn’t have to mean expensive.
Ingredients for the Recipe
-
2 medium zucchini
-
1 tablespoon olive oil
-
¼ teaspoon sea salt
-
¼ teaspoon garlic powder (optional)
-
¼ teaspoon smoked paprika (optional)
-
2 tablespoons finely grated parmesan (optional – for added crunch and flavor)
-
Cooking spray (to lightly grease the baking tray or parchment)
How to Prepare This Recipe
Step-by-Step Instructions for Preparation
Preparing Crispy Zucchini Chips is simple, quick, and incredibly satisfying. I love how this process turns everyday zucchini into something that feels special and gourmet. To start, gather all your ingredients and make sure your zucchini is fresh and firm. That will make slicing easier and yield better chips.
Step 1: Wash and Dry the Zucchini
Begin by rinsing the zucchini thoroughly under cold running water. Dry them completely using a clean kitchen towel or paper towel. Moisture will prevent the chips from crisping, so make sure they’re as dry as possible before slicing.
Step 2: Slice the Zucchini Evenly
Using a sharp knife or a mandoline slicer, cut the zucchini into thin, even slices—about 2–3 mm thick. The thinner the slice, the crispier the result. Uneven slices may cook at different speeds, so try to maintain uniform thickness throughout.
Step 3: Preheat the Oven
Preheat your oven to 120°C (250°F). A low temperature allows the chips to dehydrate slowly without burning, ensuring they crisp up nicely.
Step 4: Toss the Slices in Olive Oil and Seasoning
Place the zucchini slices in a large mixing bowl. Drizzle with olive oil and toss gently to coat each piece lightly. Add sea salt, garlic powder, and smoked paprika if desired. Toss again to distribute the seasoning evenly. If you want an extra flavor boost, you can sprinkle a small amount of finely grated parmesan at this stage.
Step 5: Arrange on Baking Tray
Line a baking sheet with parchment paper or lightly grease it using cooking spray. Arrange the zucchini slices in a single layer, ensuring none of them overlap. If necessary, use two trays or bake in batches.
Step 6: Bake Low and Slow
Transfer the trays to the preheated oven. Bake for 60 to 90 minutes, depending on thickness. Flip the chips gently halfway through baking for even crisping. Keep an eye on them in the final 15 minutes—once they begin to brown at the edges, they’re nearly done.
Step 7: Cool to Crisp
Remove the trays from the oven once the chips look golden and firm. Let them cool directly on the baking tray for 10 minutes. They will continue to crisp up as they cool.
Step 8: Store or Serve
Once completely cool, enjoy them immediately, or store in an airtight container lined with paper towel to preserve crispness. These chips are best enjoyed fresh but can be kept for up to two days.
Quick and Easy
One of the reasons I make these often is how fuss-free they are. The hands-on time is minimal, and the oven does most of the work. You don’t need deep fryers, special equipment, or long prep sessions. It’s a great recipe for busy days or spontaneous cravings.
The clean-up is just as simple. With parchment paper and one mixing bowl, there’s little to wash after baking—perfect for when I want a no-mess kitchen.
Customizable
There are countless ways to personalize these chips. You can switch up the seasoning depending on your mood or the meal they’re accompanying. Try a blend of cumin and chili powder for a spicy kick, or go with Italian herbs for a Mediterranean touch.
If you’re avoiding dairy, simply skip the parmesan. You can also make them entirely oil-free by using a light spritz of cooking spray instead of olive oil. They’ll still crisp up beautifully with careful baking.
Want an even healthier option? Use an air fryer at 160°C (320°F) for about 15 minutes, flipping once halfway. You’ll still get the same crunch in a fraction of the time.
Popular With Many People
Every time I serve these zucchini chips, they disappear fast. Kids love them because they’re crispy and fun. Adults love them because they’re light, flavorful, and feel like a smarter snack. They work great as an appetizer, a healthy snack, or even a crunchy topping for salads and soups.
I’ve made these for picnics, potlucks, and family dinners, and they’ve always been a hit. Whether you’re following a gluten-free diet, watching your carbs, or just looking for a better snack option, this recipe checks every box.
PrintCrispy Zucchini Chips Recipe – MushroomSalus

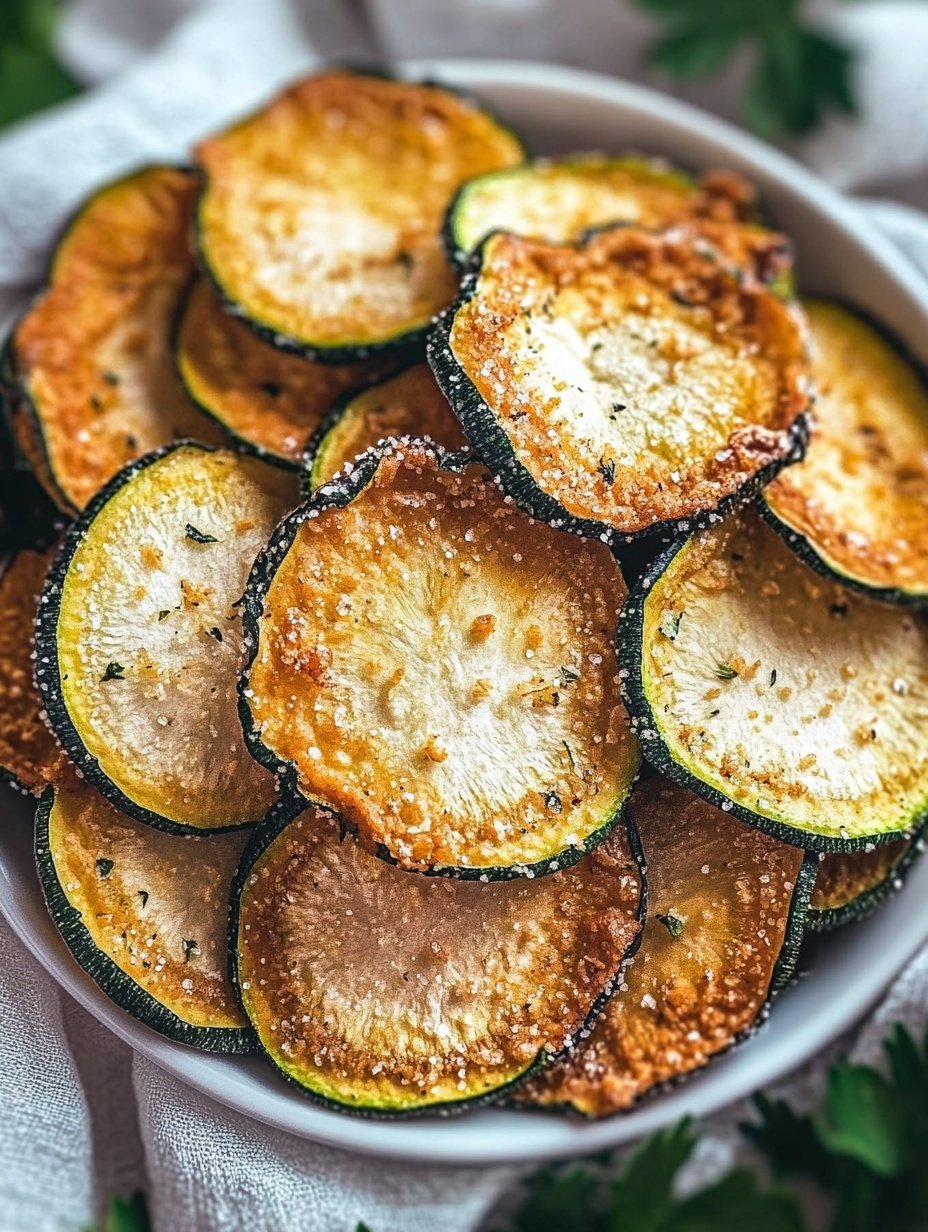
These Crispy Zucchini Chips are a light, crunchy, and healthy alternative to traditional snacks. Baked to perfection with just a few ingredients, they’re simple to prepare and full of flavor. Whether served as an appetizer, a snack, or a topping, they’re sure to please everyone at the table.
- Prep Time: 10
- Cook Time: 90
- Total Time: 1 hour 40 minutes
- Yield: 3 1x
Ingredients
- 2 medium zucchini
- 1 tablespoon olive oil
- ¼ teaspoon sea salt
- ¼ teaspoon garlic powder (optional)
- ¼ teaspoon smoked paprika (optional)
- 2 tablespoons finely grated parmesan (optional)
- Cooking spray (to lightly grease the baking tray or parchment)
Instructions
- Preheat the oven to 120°C (250°F) and line two baking trays with parchment paper or lightly spray with cooking spray.
- Wash and dry the zucchini thoroughly. Use a clean towel or paper towels to absorb all surface moisture.
- Slice the zucchini into thin rounds, about 2–3 mm thick, using a sharp knife or mandoline slicer. Ensure all slices are even in thickness.
- Place slices in a large bowl. Drizzle with olive oil and toss gently to coat all the pieces evenly.
- Add sea salt, garlic powder, and paprika if desired. If using, sprinkle in the finely grated parmesan. Toss again to distribute the seasoning uniformly.
- Arrange the slices in a single layer on the prepared trays, making sure they do not overlap.
- Bake for 60 to 90 minutes, flipping each slice halfway through the cooking time. Keep checking after the 60-minute mark for browning and crispness.
- Remove from the oven when the chips are golden and dry to the touch.
- Let them cool on the tray for 10 minutes. They will continue to crisp up during this time.
- Serve immediately or store in an airtight container lined with paper towel for up to 2 days.
Notes
The thinner the slices, the crispier the chips. A mandoline slicer is ideal for even results.
Do not overcrowd the tray. Overlapping will cause uneven baking and soft spots.
If storing, always allow the chips to cool completely before sealing in a container.
These chips work well with a variety of dips including herbed yogurt or hummus.
For a dairy-free version, simply omit the parmesan
FAQs
Can I make zucchini chips in an air fryer instead of the oven?
Yes, you can! Simply preheat your air fryer to 160°C (320°F), arrange the slices in a single layer, and cook them for about 12–15 minutes, flipping halfway through. They turn out just as crispy and are ready faster. Just make sure not to overcrowd the basket for best results.
Why are my zucchini chips soggy instead of crispy?
Sogginess usually comes from too much moisture or slicing the zucchini too thick. Always dry the zucchini well before seasoning, slice them evenly and thinly, and bake them low and slow. Letting them cool on the baking tray also helps them firm up.
Can I make these ahead of time?
Yes, but they’re best eaten fresh. If you store them, use an airtight container with a piece of paper towel to absorb moisture. Re-crisping them in a low oven (about 120°C) for 5–10 minutes before serving also works well.
What dipping sauces go best with zucchini chips?
These chips pair well with yogurt-based dips, herbed cream cheese, hummus, or light tomato salsa. Their mild flavor makes them perfect with both creamy and tangy sauces.