
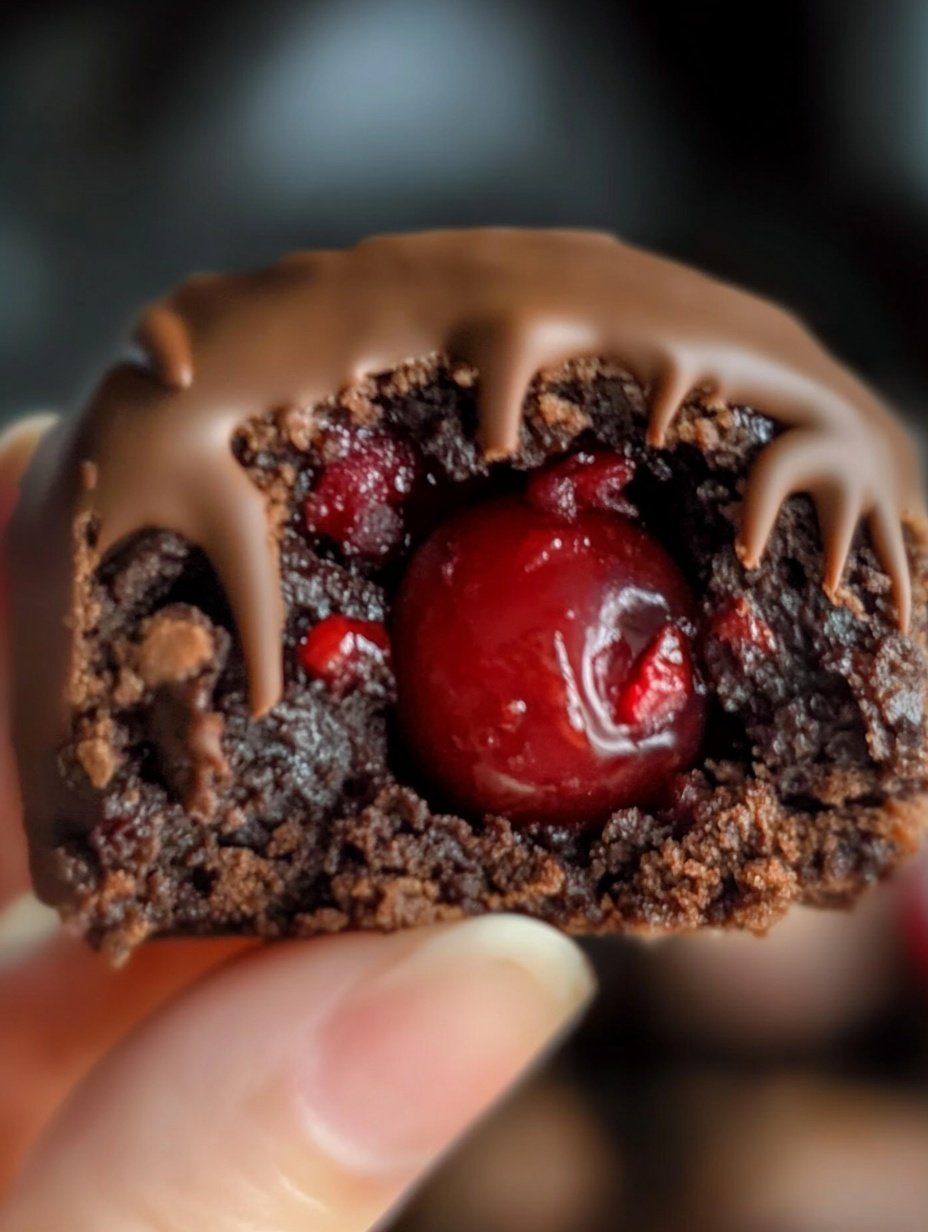
I have always had a sweet tooth, but there’s something truly magical about combining rich chocolate with juicy cherries. That’s exactly what inspired me to create these Chocolate Covered Cherry Brownie Bombs. From the moment I first baked them, I knew they were destined to become a favorite in my kitchen. The first bite is a delightful surprise: a fudgy brownie center hiding a luscious cherry, all encased in a smooth chocolate shell. Making these treats feels like creating a little piece of joy that’s perfect for sharing or indulging in on your own.
You will love this recipe because it brings together the perfect balance of flavors and textures. The brownies are dense and fudgy, while the chocolate coating adds a satisfying snap. The cherries provide a refreshing burst of sweetness that complements the chocolate perfectly. These brownie bombs are not just a dessert; they’re an experience. They’re also versatile enough to adapt to different occasions. Serve them at a birthday party, gift them during holidays, or simply enjoy a quiet evening treat at home.
One of the best things about this recipe is how versatile it is. You can experiment with different types of chocolate for the coating, or swap cherries for other fruits or nuts depending on your preferences. They are also easy to portion individually, making them perfect for gatherings or as a homemade gift. Despite their impressive appearance, they are incredibly approachable to make, even for novice bakers.
Another reason you’ll adore these Chocolate Covered Cherry Brownie Bombs is that they are affordable. The ingredients are simple and easy to find, yet they come together to create something that feels luxurious and indulgent. You don’t need any exotic or costly ingredients—just basic pantry staples and fresh cherries.
Ingredients:
-
1 cup all-purpose flour
-
1 cup granulated sugar
-
½ cup unsweetened cocoa powder
-
½ teaspoon baking powder
-
¼ teaspoon salt
-
½ cup unsalted butter, melted
-
2 large eggs
-
1 teaspoon vanilla extract
-
½ cup chopped dark chocolate or chocolate chips
-
12-15 fresh or maraschino cherries
-
1 cup chocolate for coating (milk, dark, or semi-sweet)
-
Optional: sprinkles or crushed nuts for decoration
How to Prepare Chocolate Covered Cherry Brownie Bombs
Preparing these Chocolate Covered Cherry Brownie Bombs is easier than it looks, and the process is incredibly satisfying. I always recommend gathering all your ingredients and tools first, as this ensures a smooth workflow. The key is to balance the fudgy texture of the brownies with the juicy cherries and crisp chocolate coating.
Step-by-Step Instructions
-
Preheat your oven: Begin by setting your oven to 350°F (175°C). Line a muffin tin with paper liners or lightly grease it to prevent sticking. This will be where your brownie bombs will bake.
-
Mix dry ingredients: In a medium bowl, combine 1 cup all-purpose flour, ½ cup cocoa powder, ½ teaspoon baking powder, and ¼ teaspoon salt. Whisk them together to ensure even distribution.
-
Combine wet ingredients: In a separate large bowl, whisk together ½ cup melted butter, 1 cup granulated sugar, 2 large eggs, and 1 teaspoon vanilla extract. Mix until the batter is smooth and glossy.
-
Incorporate dry ingredients: Gradually fold the dry mixture into the wet mixture using a spatula. Mix gently until just combined. Avoid overmixing, as this can make the brownies dense.
-
Add chocolate chunks: Fold in ½ cup chopped dark chocolate or chocolate chips. This step adds extra pockets of chocolatey goodness inside each brownie bomb.
-
Fill the muffin tin: Spoon a small amount of brownie batter into each muffin cup, enough to cover the bottom. Place one cherry in the center of each portion and then top with more brownie batter until the cherry is fully covered.
-
Bake: Place the muffin tin in the preheated oven and bake for 18–22 minutes. Check for doneness by inserting a toothpick near the edge (avoid the cherry). It should come out mostly clean with a few crumbs.
-
Cool completely: Allow the brownie bombs to cool in the tin for 10 minutes, then transfer them to a wire rack to cool fully. Cooling is crucial for the chocolate coating to set properly.
-
Prepare chocolate coating: Melt 1 cup of chocolate in a heatproof bowl over simmering water (double boiler) or in the microwave in 30-second intervals, stirring frequently. Ensure it’s smooth and lump-free.
-
Dip brownie bombs: Using a fork or skewer, dip each cooled brownie bomb into the melted chocolate, ensuring it’s fully coated. Gently shake off excess chocolate and place on parchment paper.
-
Decorate: If desired, sprinkle crushed nuts or sprinkles on top before the chocolate sets. This adds extra texture and visual appeal.
-
Set chocolate: Allow the chocolate to set completely at room temperature, or speed up the process by refrigerating for 15–20 minutes.
These brownie bombs are quick and easy to prepare, taking under an hour from start to finish. They are also highly customizable: swap cherries for other fruits, or add a flavored extract like almond or orange to the batter for a unique twist. They are popular with many people because they combine familiar flavors in a fun, bite-sized format that’s hard to resist.
Print
These Chocolate Covered Cherry Brownie Bombs are a decadent treat with a fudgy brownie center, a juicy cherry, and a smooth chocolate coating. They are perfect for dessert, parties, or gifting, and can be customized to suit different tastes.
- Prep Time: 20
- Cook Time: 20
- Total Time: 40 minutes
- Yield: 15 1x
Ingredients
- 1 cup all-purpose flour
- 1 cup granulated sugar
- ½ cup unsweetened cocoa powder
- ½ teaspoon baking powder
- ¼ teaspoon salt
- ½ cup unsalted butter, melted
- 2 large eggs
- 1 teaspoon vanilla extract
- ½ cup chopped dark chocolate or chocolate chips
- 12–15 fresh or maraschino cherries
- 1 cup chocolate for coating (milk, dark, or semi-sweet)
- Optional: sprinkles or crushed nuts for decoration
Instructions
- Preheat oven to 350°F (175°C) and line a muffin tin with paper liners or lightly grease it.
- In a medium bowl, whisk together flour, cocoa powder, baking powder, and salt.
- In a large bowl, mix melted butter, sugar, eggs, and vanilla extract until smooth.
- Gradually fold dry ingredients into wet ingredients until just combined.
- Fold in chopped chocolate.
- Spoon a small amount of batter into each muffin cup.
- Place one cherry in the center of each portion.
- Cover the cherry with more batter until fully enclosed.
- Bake for 18–22 minutes, checking for doneness with a toothpick near the edge.
- Cool in the tin for 10 minutes, then transfer to a wire rack to cool completely.
- Melt chocolate for coating until smooth.
- Dip each cooled brownie bomb into the chocolate, shaking off excess.
- Decorate with sprinkles or crushed nuts if desired.
- Allow chocolate to set at room temperature or refrigerate for 15–20 minutes.
Notes
Ensure cherries are dry before baking to prevent excess moisture.
Avoid overmixing batter to keep brownies fudgy.
Customize chocolate coating or fillings for variation.
FAQs
Q: Can I use frozen cherries instead of fresh ones?
A: Yes, you can use frozen cherries, but make sure to thaw and pat them dry first. Excess moisture can make the brownie batter too wet and affect the texture.
Q: How long can I store these brownie bombs?
A: Store them in an airtight container at room temperature for up to 3 days. For longer storage, refrigerate for up to a week or freeze for up to 2 months.
Q: Can I make them vegan or dairy-free?
A: Absolutely. Use plant-based butter, dairy-free chocolate, and an egg substitute like flax or chia eggs to make this recipe vegan-friendly.
Q: Can I prepare them in advance?
A: Yes, you can prepare the brownie batter and assemble the cherries a day in advance, then bake them when ready. You can also dip them in chocolate a day ahead and store them in a cool place.
Q: Can I use other types of chocolate for the coating?
A: Yes, milk, dark, or semi-sweet chocolate all work well. You can even mix chocolates for a marbled effect.
Q: Are these suitable for parties or gifts?
A: Definitely. They’re bite-sized, visually appealing, and easy to package, making them perfect for parties, holidays, or gift boxes.